Sunday, 10 May 2020

We decided to do some work in the garden during the Corona virus lockdown and once started I didn't want to stop until it was all done.  It took ages.


This is the new patio complete with a raised bed for planting veg.  Would be full of earth by now if the shops that sell it didn't have such horrific queues to get in.


New shed and bike getting a service.


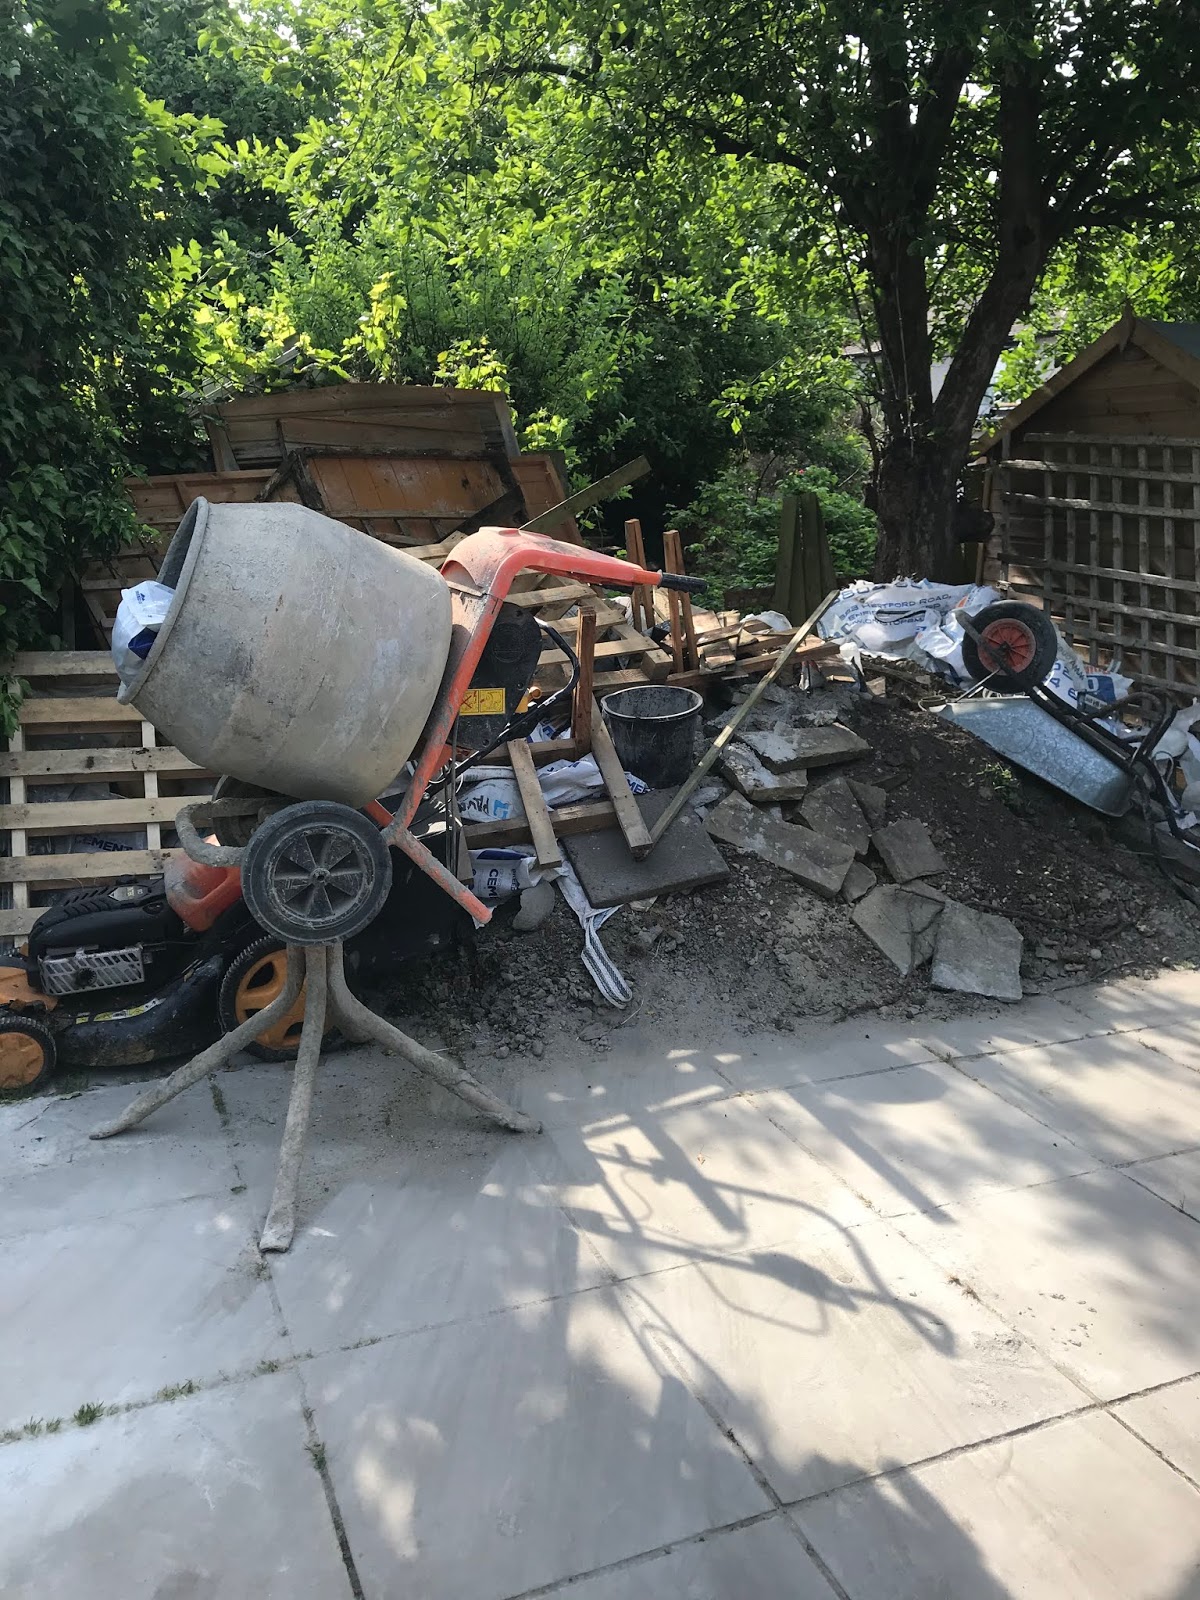
A massive pile of rubble awaiting the arrival of a skip tomorrow.


I have pondered over what to do next for the best part of the last month and decided that I should do all the bits that require painting Ice Blue.  There are lots of bits and pieces such as the tunnel cover and the bonnet catch bracket.  The two items that require proper work on my behalf are the screen pillars and the panels that go behind the grille and I have decided to do the screen pillars first.  Some chap sent me templates for the behind the grille panels in exchange for templates for the heat shields that mount on the underside of the bodywork above the exhaust.  It seemed like a good deal and I now have two templates and a few pieces of aluminium to make those panels.  However, the pillars won and I started those first.

All the bits laid out.


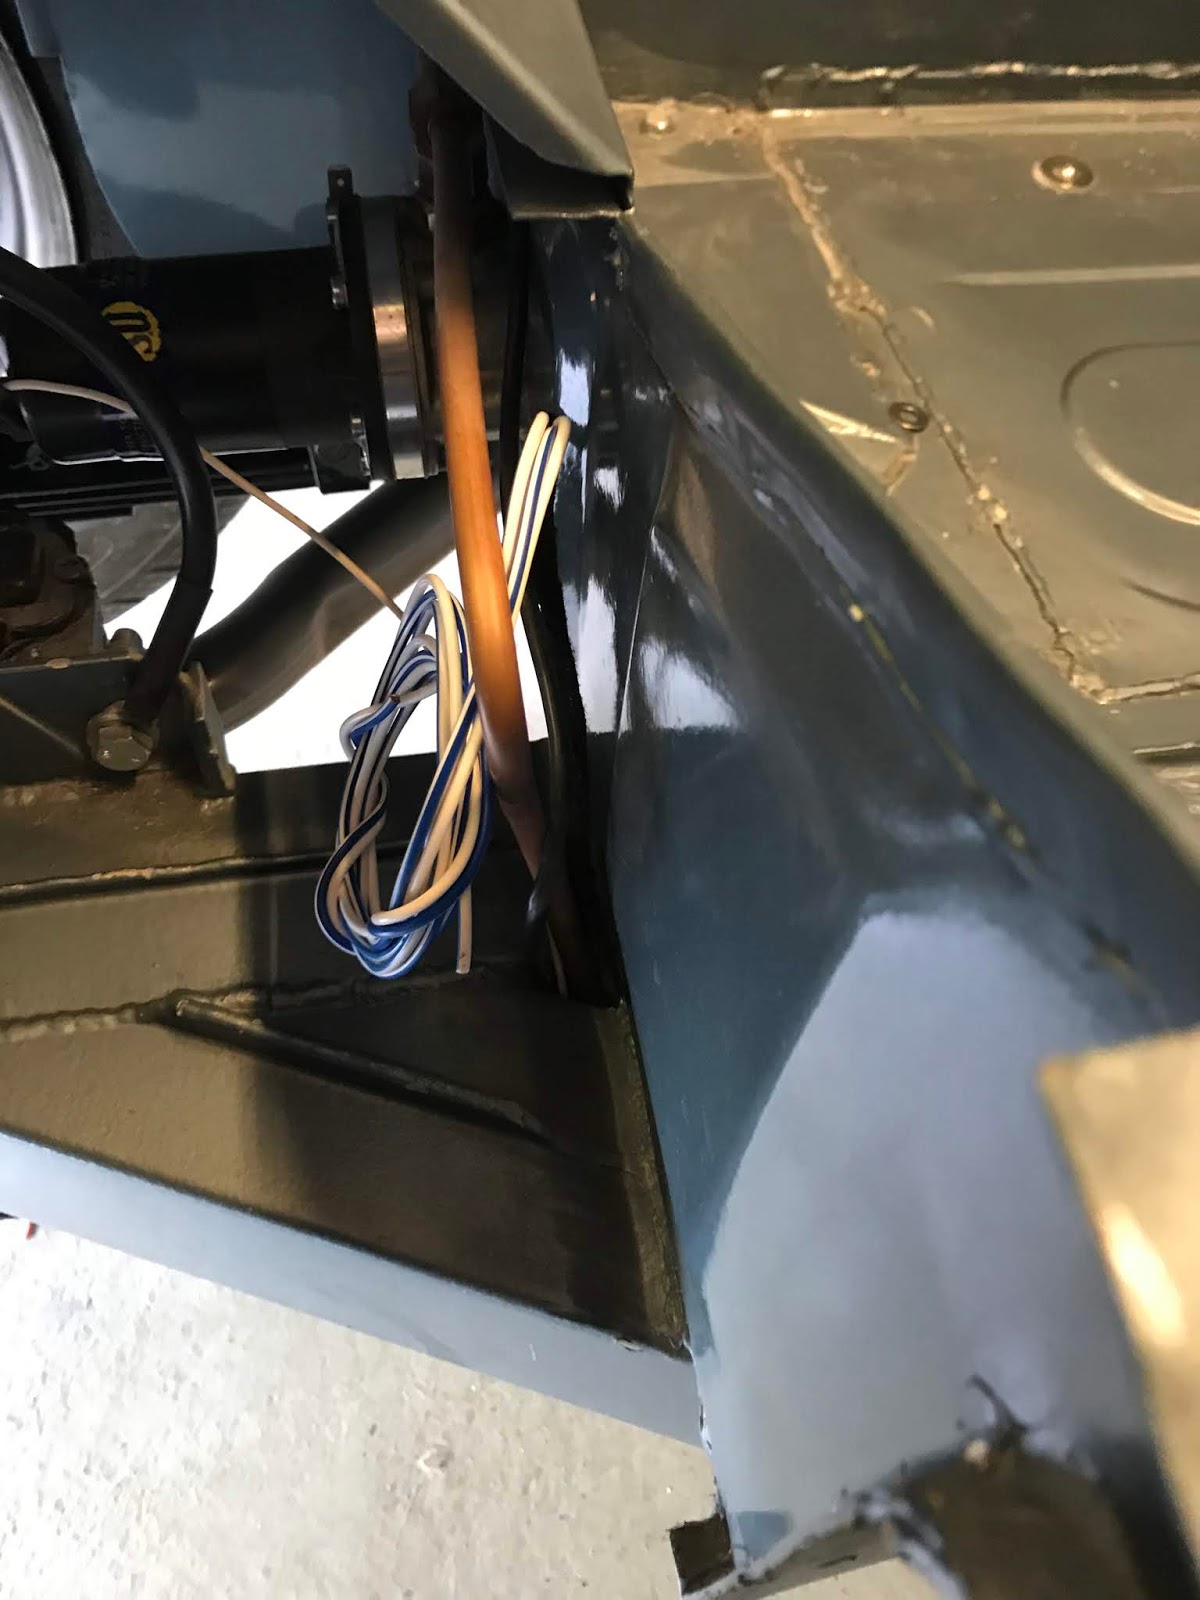
I trial fitted the edge of the screen surround to the pillar but I knew instantly that my repair work on the threads to the pillar was unsuccessful.


The four screws were loose in the pillar so I knew I had to do something.  I had two choices, fill the holes with aluminium and then drill and tap a new thread in or drill some new holes and tap them.  I knew there is something uncivilised about drilling new holes but nobody is going to be able to see them and it is certainly a lot easier to do.

I used the existing screw holes to locate the screen surround in the correct position and then started drilling.


I have to tell you that I did a lot of procrastinating before I drilled into those recently chromed windscreen surrounds.


I even put tape on the drill bits so that I wouldn't drill through the pillars.


It worked out ok in the end and the two sections fitted together well.


When I tried the new corner brackets on the screen surround I was rather struck by how long the screws were and how much they protruded from the bracket towards where the screen will locate, something I will look into.


Very much liking the newly chromed windscreen pillar bases.


I noticed that they had numbers stamped into them that are also stamped into the pillars which I presume makes them a pair?  They didn't fit together very well though and this I will also look into.


Monday, 13 April 2020

I did replace the gearbox support stay with a new section of M12 studding that I didn't realise that I had and used the correct amount of nuts on the inside of the gearbox and the chassis.  Just need to fit the M12 nylon nuts on the outside when they arrive.

I then finished adjusting the brakes by doing the rear set.  It feels rather miraculous that I now have a decent brake pedal, yippee.

I then set about 'modifying' the shroud to get the wheel with the 180 Michelin XAS tyre to fit correctly.  It only just misses the shroud on full lock now.  I spent ages this morning looking for specs on different tyres to see if there is one with a slightly smaller total diameter only to fail to find anything.  This gave me an extra incentive to make the XAS tyres work.  I haven't got the car on the ground yet but I am hopeful that they will just about be ok.

I then heated the grease that goes into the steering box and slowly got it into the box.  I am not convinced that I have got as much as I need to in but there is certainly enough for now.  Then I set up the tension bolt and clamped it up.  Slowly but surely I am getting through the final tasks, it is starting  to feel exciting.


Sunday, 12 April 2020

I spent some time pondering the heated seat situation and even studied how relays work before deciding that I will fit them without relays and run the wiring along the main front to rear loom and whilst I was at it run a spare wire for any future requirements that I may have.

I had bought 5 of these lovely switches some time ago which is handy as I need 3 of them now.  One for the electric fan and two for the seats.  A long time ago I had installed one in a hole that I had on the support for the dashboard.  I didn't realise that the hole wasn't original until the car was painted otherwise I would have welded it up and the switch fitted perfectly.  I guess the hole was a leftover of an upgrade that a previous owner had done.


I spent ages measuring up the various lengths of wire required before soldering the switches on and then wrapping them in loom tape, all very enjoyable.  This is the finished harness.


Once installed I decided against putting the holes into the rear seat panel until I knew where the wires from the seat will be so this is the three wires coiled up and waiting for final fitment.


I quite like the look of the switches and when the doors are closed they are hard to see from outside of the car but easy to access from the inside.


I got round to fitting Rivinuts to the underside of the chassis and properly tying up the main lead from the battery to the starter which has been dragging on the floor for ages.  I did whilst fitting the seat harness.  I'd jacked up the car to do this so started on the other jobs I had on the underside which included fitting the gearbox support stay with its bushes.  I had it installed a long time ago, in fact when I installed the engine as I needed it to push the engine forward to get it line up with the engine mounting bolts on the chassis.  I was a little worried that when I undid the nuts that the engine would slide backwards but to my surprise it didn't.  I had read an article some years ago on this job and it majored on the importance of putting a collar inside the hole in the gearbox plate as the hole is much bigger than the stay bar.   was so taken with the article that I screen shotted it and have been looking at it on my desktop ever since.  I remembered the collar but forgot to put two nuts on the inside though and wish I had used nyloc nuts on the ends of the bar.  I have ordered some and will strip it all down again to put the nuts in the correct position.  I am also a little concerned that I may have cut the bar too short and I don't think I have any more so perhaps this will be something I come back to much latter on.  However, it was easy to do and is something I am happy to have at this stage.


One of the other jobs I need to do is adjust the brakes so I took the front wheel off and did those before I got distracted by the wiring of the lights which was hanging loose and flapping freely.  I have made a start on that.


Friday, 10 April 2020

I finished fitting the lights and took the grommets out of the headlamps.  When I turned on the indicators the front set were flashing together regardless of what direction I had turned the indicator.  I thought that there must be a sensible solution and I started by looking at the wiring loom diagram only to realise that the front indicator circuit had wires coming from the relay to both the indicators and the dash light that shows that the indicators are on so I started there.


When I pulled the dash light out it was easy to see what the problem was.  I cut this lamp off and the indicators started working perfectly.  I need to get to the bottom of this but I am not stressed by it as the blue lens that it shines through is rather opaque now and so it didn't really work.


I love the look of the lights.


It is really clear that the halogen upgrade I did has given me a bright white light whereas the side light is somewhat yellow in comparison and it looked odd.  On the AH Exp website one of the contributors has upgraded his lights to LED and I think this would make sense for me to do.  Alarmingly the US website of the LED light supplier charged $14.95 whereas the British version charged £35 which equates to £52 verses £140.  I have emailed them for clarification.

I then finished the wiring for the extra fan I installed ages ago, it worked well.

My list of jobs to do is diminishing, I can see me getting this car on the road.

Wednesday, 8 April 2020

I got the multimeter out and discovered that it didn't work so I went to change the battery and the battery terminal came away in my hand, rotten; damn.  I have a lead with a light on that is ok for testing if there is a voltage across a wire but I really needed to measure resistance.  I sat at the computer and thought about ordering a new meter on eBay as I knew it would be cheap to buy but I was a little worried about delivery time with both the pandemic and the bank holiday this weekend.  As I needed to know what to order I searched for Machine Mart, the company that sells Clarke tools, and discovered that they are open as, apparently, they are an essential supplier.  Having searched the products I settled on one and then phoned the shop to see if I could collect it only to discover that they didn't have that model in stock but  the shop in Leyton, a few miles further away did.  I pondered  the trip as it clearly isn't essential and went anyway.

With the new meter in use I set about working out what I had done wrong.  It took about 30 minutes to realise that the wires to the front from the relays were wrong.  I had run the wires correctly and then connected the original wires in the loom at the front, what a donut.


It kind of looked like the lamps were filled with smoke but my wife said I was soft in the head so I ignored it.  The lamps came with side lights incorporated into them with a comment saying that they could be blanked off but nothing to blank them off with.  I used a standard grommet but am a little uncomfortable with this as I don't know how much heat they can stand so I might take them out and leave the hole open.


Tuesday, 7 April 2020

Making the most of the Easter holidays with a lockdown in operation by spending ages in the garage working on the Healey.  I am not working very fast but it is lovely.

I went to fit the front headlamp bowls and realised that they were pretty rusty so I got the grinder out and then gave them a coat of paint.  I took the rear loom to the back of the car and installed that and then fitted the tail lamps.  I knew how the lens fitted into the rubber but my memory of how to get the chrome retaining trim in was shaky, much like my hand but, hey they got installed and I only had one little scratch to show for it!

First attempt and they worked perfectly.  Lights, brake lights and stop lights all perfectly operational straight out of the box, seems too good to be true.


I had some original leads from the headlamps to the wiring loom but the wires were just too tired to stick with so I striped the things down and made new cables, the left one is new the right is original.


The pair completed.


I eventually got the head lamps installed but they don't work.  Now I have doctored the wiring to install relays to power the halogen bulbs so it is highly likely to be my doing but I don't know what I have done wrong yet.  They look awesome though.


I then fitted the rear view mirror which meant that the dash board was clamped up in the middle.  I have been using Ahead 4 Healey's for most of my parts with some coming from Moss and so they are the only places I look at for parts.  However, I was recommended to buy a solenoid from SC Parts a long time ago and when I went onto their website I realised that they sell a bar for the mirror to screw into and thought that I could make one of those which I duly did.  It made installing the mirror a piece of cake.  It also looks great.


Saturday, 4 April 2020

Horn push attached to the stator tube but not before I managed to do a very silly thing.  I realised that I needed to run a piece of string through the stator tube before withdrawing the tube from the steering column so that I could attach it to the wires hanging out of the tube and guide them through the steering box whilst it was being installed.  I'm not sure I explained that very well.  Anyway, the string would not flow through the stator tube so I started to tie things to it like small bolts to see if they would slide down the tube and take the string with it but they wouldn't.  I had a brain wave and decided to get the air line and blast a little air down the tube to see if it would do the trick.   At this point in time I had a 5mm drill bit attached to the string and when I stick the air gun onto the top of the stator tube it moved a bit but not much.  So I gave it a bigger blast of air and the drill bit whizzed down the stator tube and out of the other end before smashing against the front panel.  I knew instantly I had made a mistake and when I looked at the front panel there was a crack in the paint for all to see, damn.


I then attached the string to the wires hanging out of the bottom of the tube and fed it through the steering column successfully.


I made use of a pair of axel stands to create a portable soldering studio to attach the bullets to the ends of the wires.


When the wiring was all done I tested the horns and they work.

I had got the starter motor back from WOSP and they said that they hadn't managed to find a fault with it so issued me a new one.  It was made on Thursday which is my mother birthday, very cool.


I fitted it and the engine now turns over at breakneck speed and started which was very pleasing.