Tuesday, 8 March 2016

On Sunday I got round to fitting the final wing on and taking the car out of the garage.


It was quickly clear to me that the wheels didn't sit evenly, very disappointing.


The first picture above shows the wheel in further than the picture below it.  I am conscious that the wings look a little thrown on, which they are but the alignment is definitely not correct.


The sides looked fairly even so I was happy with them.

I cant quite work out where all the issues stem from but I am clear in my mind that the shroud is not positioned correctly.  I called up a friend who is a panel beater on modern cars and asked for his opinion.  He called round tonight and suggested I take measurements to check that the chassis is aligned and that the wheels on each side are square.  Once done then it is on to checking the bulkhead.

I am beginning to fear that I need to move the bulkhead and therefore upset the position of the doors and wings.  It feels very frustrating at the moment.  I am away at the weekend so it will be a few days before I get back into the garage and at the moment that feels like a wise idea.

Saturday, 5 March 2016

Having received a delivery of bushes from Ahead 4 Healeys I set about fitting the wishbones.  Naturally I realise straight away that I had been a pillock of the highest order.  The mounting posts for the wishbones are on the chassis that had been zinc plated by the previous owner and so, of course, the wishbone pins didn't fit properly.  To access them to remedy this I needed to take off the inner wings that I have only just fitted; 2 steps forward and 1.5 steps back.

Anyway, I thought that this would be a fairly relaxed job and it was although it took a while.  I started at about 9:00 and by 12:30 I had only fitted one side.  I had to stop at this stage because Spurs were playing Arsenal at 12:45 and I couldn't miss that for the world ( 2-2 in case you were wondering).


I returned in the afternoon and fitted the other wishbone and then got as far as one wing and a wheel.  I need to get in the garage tomorrow to do the same to the other side and see where we lie with regards to alignment, exciting times.


I went to see John last weekend and had an enjoyable couple of hours checking out various items.  I managed to get the bulk of a fuel pump repair kit, a spacer for the pedal bar, a replacement control box and a gearbox cover to the rear tunnel.  That was pleasing.  I also managed to locate the position of the tray that the wiper motor mounts on to as I can't find any measurements.


I discovered that John has owned this car since the mid 60s, how cool is that.

I took the chance to see what happens where the pedal bars go through the body.


And discovered that a bracket is required for a return spring to the brake master cylinder.  This was a good time for that to happen as it would have been awful to realise that after the chassis was painted.


Having previously asked I knew that Ahead 4 Healeys do not stock the brackets welded on to the chassis to mount the battery on.  John and I discussed the battery possibilities and I am thinking that I should go for a single unit as the cost of the twin batteries and the battery clamps is extremely high compared to a single equivalent.  I have been lucky enough to own a few MGBs and have always been happy enough with their twin set up but the final nail in the coffin was that the modern batteries and the brackets are not the original style.

I am thinking of reusing the clamps removed a few weeks back and making new brackets for a single battery.  I will ponder this for a while.  Another area for consideration is the removal of the battery circuit breaker switch in the boot.  Apparently they were frequently removed back in the day.  I don't have one at the moment so I may consider that a long way down the road.


Sunday, 21 February 2016

I took a trip to the shed at the in-laws to reclaim the wishbones and kingpins/hub only to realise that I couldn't fit them to the car immediately as I don't have any bushes.  Felt a little bit of a sausage as I should have known that really.  I brought them back with me though.


I decided to make myself useful elsewhere by doing little jobs like shaping the inner wheel arch that I installed on Friday to allow the shock to fit and cleaning up the brackets I had extracted from the old chassis.  Quite an enjoyable Sunday morning but maybe not what I was expecting.

On a slightly different issue I returned to the in-laws and rummaged through the parts to see what electrical components I had and what state they were in.  I figured that I ought to check out John's stock before he sells it all and so it seemed like a good time to investigate it.  I have plenty of stuff that I have no idea what it is and many electrical components that are in dubious condition so it seemed like a sensible thing to do.  I have arranged to see John next Saturday so that is very good.  Between now and then I have to return to work which always seems a shame; such is life.


Friday, 19 February 2016

It was a lovely bright morning in sunny North London so I decided to make the most of it and extract the original chassis from it's long term storage in the pursuit of any remaining clamps or brackets that I may need.


I quickly found some brackets in the boot area for tank straps and the like.


The chassis in all its glory.


The main thing I was after was the battery brackets.  I managed to obtain the brackets for the battery clamps but the bars were a little tricky to get at so I left them and thought I'd find out how much a new set would be.  If they are very expensive then I'll return for the originals later on.


This was my plunder.


So I returned the chassis to its resting place and headed inside.


I got the wiper motor tray and removed the surface rust and coated it with my new paint.


I then started on the near side inner wheel arch.  I noticed during the fitting process that the chassis leg needed some welding before I could fit the wheel arch and duly took care of it.  I did wonder if the other side had the same issues that I failed to spot, umm.


I had to remove the bracket for the shroud again which was no surprise.


It went in quite easily with the knowledge gained from yesterdays events.


I noticed something quiet quickly though which set off a chain of thoughts that were far from settling.  The joint on the wheel arch is on the outside of the shroud.  All the pictures I've seen of other cars have it on the inside, as is the case for the off side I installed yesterday.


Now I have two scenarios that quickly play in mind.  Initially I am troubled by the thought that I have the body installed on the chassis in an off centre position.  Something that has plagued me since I installed the shroud and the front bulkhead all those years ago.  If this is the case then it is for this reason that I tack welded all of the panels to date, just in case I have to return to them and move them.  However, if that is the case then I am looking at completely going back to the start and it would be horrific to say the least.  Now at every stage I have measured what is available and it has been as even as I could expect so surely I can't have gone and got it wrong?

The second scenario is that the inner wheel arch is just made differently on this side.  Not an impossibility by any means. I wouldn't be troubled if this was the case as the joint in the inner wheel arch is very much hidden from view on a completed car so it would have no impact.  My fingers are crossed. 

The only way to be sure is to repeat the process of installing the wheels that was tried on the back end a few weeks back with great success.  It occurs to me that whilst the wheel position at the back was very even from both sides I didn't actually look at the back of the car from a distance to see it looked balanced which I now wish I had done.  Anyway the front king pin / wishbone set up is still intact albeit with the shocks and the drums removed so it should be a simple task to get it mounted and check.  I will dig these parts out over the weekend and go for it.  I'm either going to be happy, very happy or extremely stressed by the outcome of this little adventure so I will be doing it quickly as this is no time for procrastination.  If it is a positive outcome then its full steam ahead and if is not then I will have some soul searching to do.  I can imagine somebody reading this and thinking, what sort of amateur am I.  After all, how can anybody expect to build a 100 BN1 out of a chassis of unknown origin and a bunch of replica panels in a shed at the end of their garden and get away with it?

Back to more humdrum thoughts, taking the front wings off and replacing them will be much harder now that the inner wheel arches are in place.  This is made worse because the car is on a trolley and so higher up than it would be on its wheels meaning that I can't actually reach in to the wing bolts from the shroud because I'm a about a foot too short; I'm not a short man.

Thursday, 18 February 2016

I started the day by welding on the floor panel on the nearside, again a nice job as it was quick and left a clearly visible sign of progress.  I then trial fitted the front tunnel covering plate and the gearbox cover which all went well.


I noticed in a picture I saw on my travels that there is a gap between the gearbox cover and the rear tunnel so I am not alarmed to have it.  However, I wouldn't have been happy had I not seen that picture as it looks really odd.  I don't know what covers it either, surely it is not just carpet?  Some information hunting required I think.  Anyway, it lined up ok so I moved on.

I should have done the previously mentioned wiper motor tray but I needed some weld-thru paint which is on order so I turned my attention to the off side front inner wheel arch.


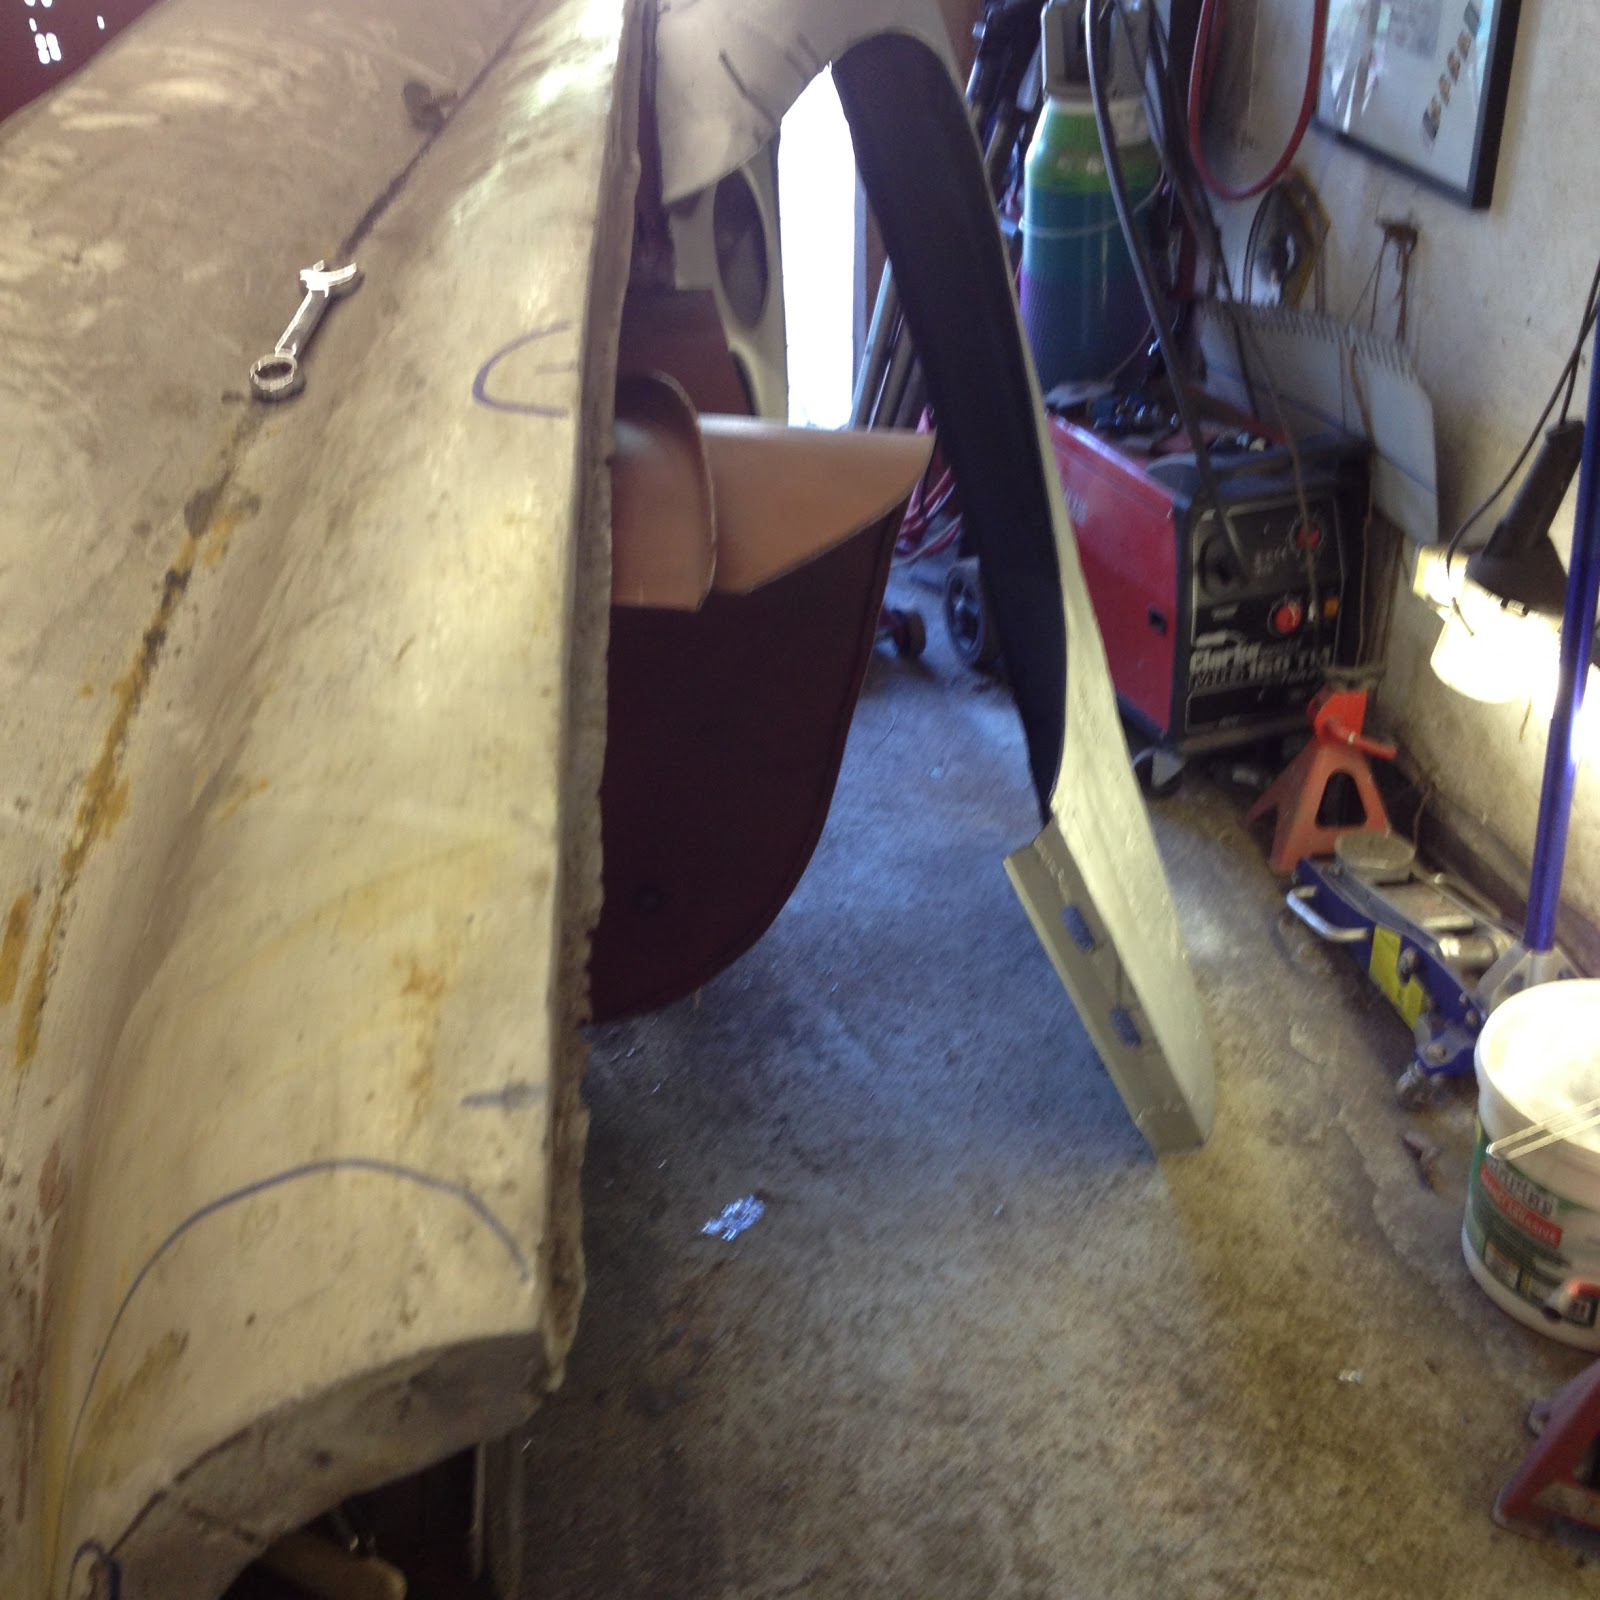
I had tried to fit this one day a long time back and knew it wasn't obvious how it all lined up.  For example I have no idea how far from the wing the ouster most edge should be?  I know there is a rubber for it and right about now I am kicking myself for not buying a set so that I could get it right.  I haven't though so I just ran on logic and got on with it.  I dd a lot of photo searching to see how other peoples cars looked in this area and bit the bullet.


Having tacked it in place I went to remove the wing to finish the job.  Being faced with the only wing that I haven't sandblasted and painted I realised that I had a little more work to do on this part.  A long time ago now I had loaded the welded joints with lead and I was conscious that I didn't really know what I was doing despite having been trained on it some years ago whilst on a bodywork course at the local sixth form college.  Anyway when I looked at the wing I could see a distortion to the areas around the lead in the paint.  It looked a little like the forerunner to some corrosion or an unhelpful reaction at the very least so I decided to get the oxy-acetelene out and remove it.  The lead dropped of easily enough but the wing took the opportunity to distort when the heat was applied.  I took the wing off to gain access to the inner wheel arch and then spent some time sorting that out.  I didn't enjoy it.  I have spent hours on the damn wings and am actually sick of them, surely they can just be finished, can't they?  

I could have blasted the wing today as it is sunny in North London but I didn't have any primer and I need to sieve the reclaimed sand.  Glad to leave it to another day.

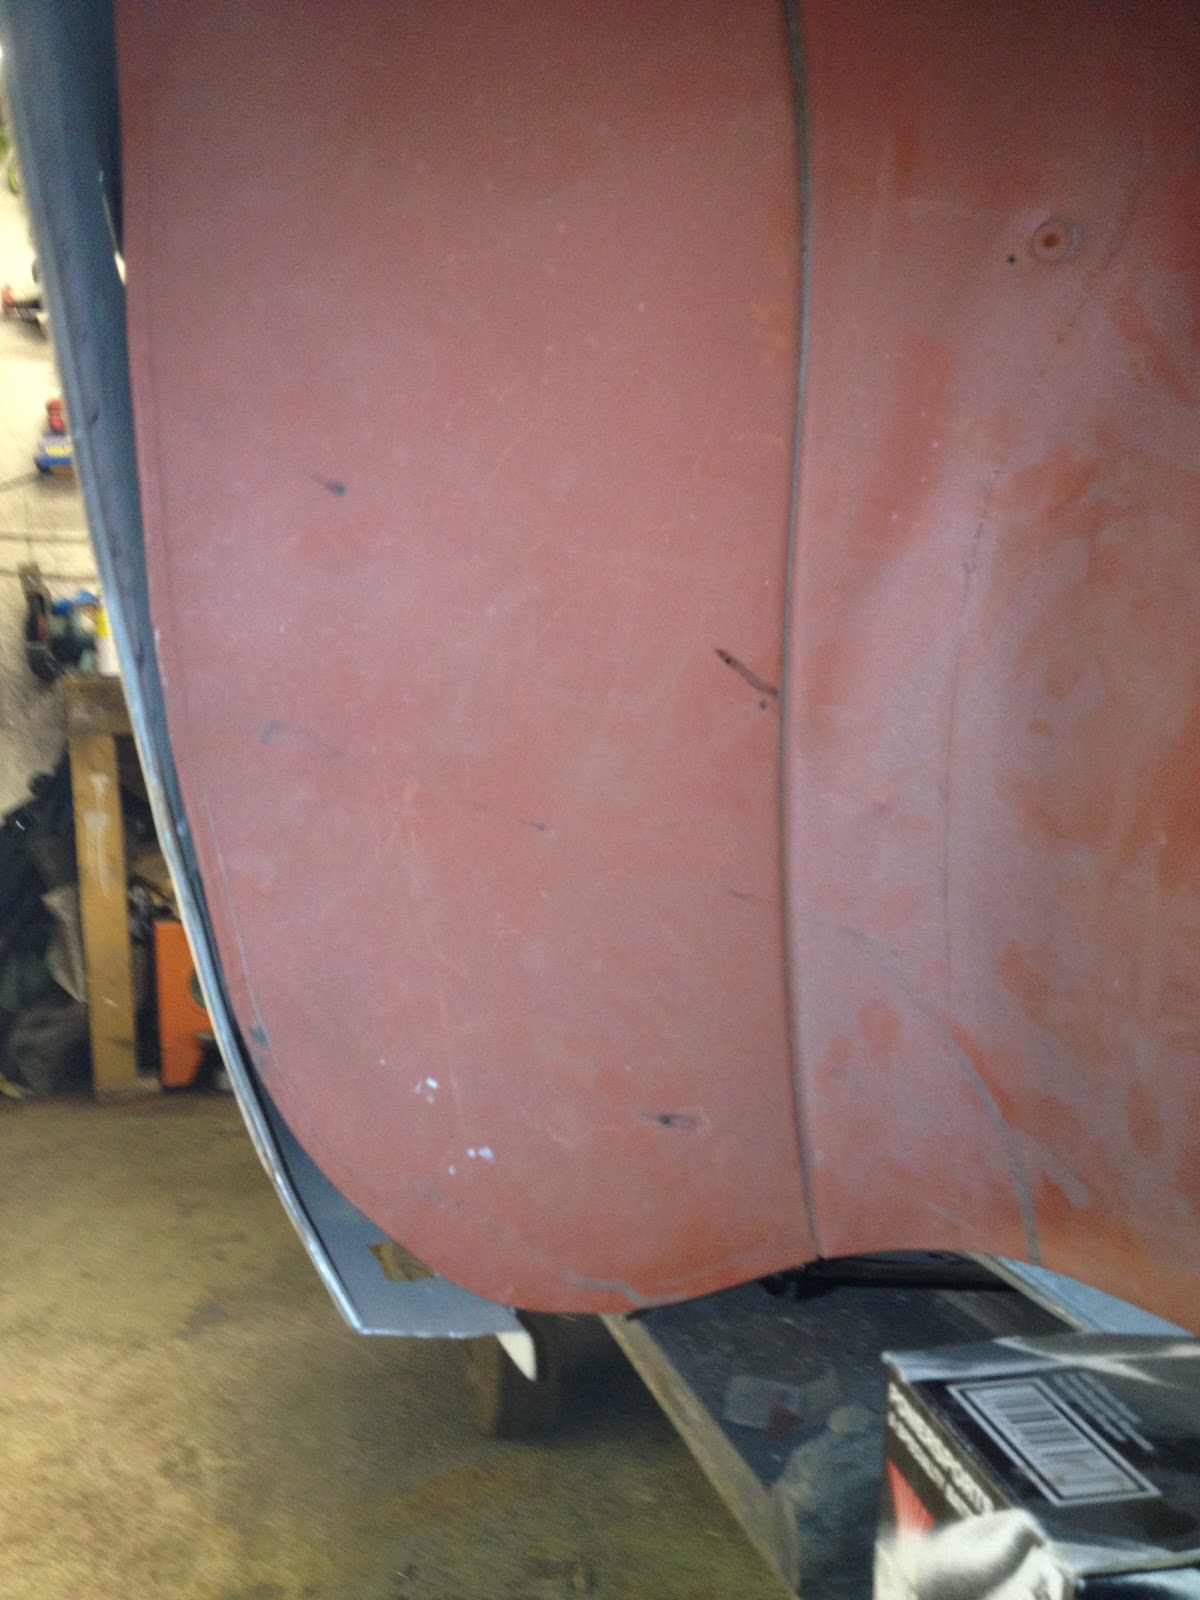
I started to chop back the area where the shock absorber sits and noticed that some of the panel was turning a distinctive shade of red/pink.  I didn't have to hunt long to discover the cause and took the usual repair route of masking tape and tissue.


Now I do have a medical kit in the garage along with a fire extinguisher etc. as I am old enough to be somewhat sensible.  However the medical kit was from my Father in-law's Porsche 928 and the packaging is intact as originally supplied so I never want to open it.  I can't recall how I came to have this as the 928 was sold before my wife and I began dating, perhaps I should ask him.  It has occurred to me that I should see if an owner of a 928 would actually like it as they are becoming classics in their own right, I might look into that but then again I have plenty of Healey stuff to look into.  By the way, I should say that my fingers don't look that chubby in real life, just for the record.

The piece of metal designed to bolt to the shroud was in the wrong place so that needed removing and replacing.


Having looked at many more pictures I think I may need to remove some more of the panel by the shock area but I'll wait until I have done the other side.


So I have one inner wheel arch and a few brackets left to do then it is on to the final welding everything properly session.  I can't wait.  The paint arrived late in the day so I have nothing to hold me back, well as far as I can think of that is.


Tuesday, 16 February 2016

Continuing my plan to work my way forwards with the last of the inner panel work I turned my attentions to the metalwork around the floor pans.  I was not surprised to discover that I hadn't got round to priming the panels that sit behind the seat and above the leaf spring.  Some labour intensive work later and I had turned a rusty panel into a clean one.


Then I looked in my store of sheet metal for the gaps either side of the tunnel to realise the only suitable source was a pair of unused sills which were even more rusty.  More rust removal and some hammering later I was ready.  I was a little disturbed by the required amount of hammering to get the metal flat and just how tired my arm was as a result.


The picture below shows the holes I was filling.  Quite nice work really as it is flat and difficult for me to mess up.


I primed them ready for installation and spent some time grinding more of the galvanised coating off the chassis before priming that too.


Driver side complete with new panels tacked in place.


That's as far as I got.  I had a disrupted day but even so it always surprises me how long everything takes.  The plan is to get the gearbox cover out of storage and fit the panel that it mounts to on the bulkhead.  Then it is on to the wiper motor shelf which I had previously salvaged from the original footwell side panel.  I have a memory of writing down the details of the exact location of it but for the life of me I can't remember where I put the details?  I also have the battery switch compartment to install but will wait until the rear shroud is off to do that.  I also have a few brackets to remove from the original chassis and restore before installing and then it is on to the inner wings.  I can see the end of the road for the inner bodywork and that is exciting.  At that point I will need to weld the whole car up, as everywhere is just removable tack welds currently, which should be fun.  I will also need to turn the body upside down to access the underside and I am starting to wonder how  I am going to do that, a great source of entertainment for idle moments.  Another source is deciding what to do with all the holes that are in the bulkhead for cables etc as I'm sure I won't need them all.  At this stage I'm thinking that I should weld the lot up but I suspect that this won't be as easy as it sounds.  I also have one front wing to sandblast and paint and to do that I need a sieve to recycle the used/reclaimed sand. All good fun.