Sunday, 24 January 2016

Last week when I took the shroud off I saw plenty of the holes on the inner wing and shroud that didn't line up very well on the driver (off-side) of the car so I marked them.  When I removed the shroud I filed them back.  When I replaced the shroud I had a little bit of a heart attack because the near side holes didn't line up (they did before, perfectly) and the off-side now lined up with the original inner wing holes perfectly.  Bloody hell, I dread to think what the wing position and dreaded door gap is going to be now.  


Naturally I started thinking about everything again and had a bit of a brain wave, why not fit the rear axel and wheels to see if the wheel position is good within the wings?  So I sat down last Sunday evening and looked through the Ahead 4 Healeys online catalogue for all the bits I'll need.  I was pleasantly surprised when I read the details for the clamps and then horrified when I took a second look and saw the small detail about BN1- BN1.221535 and realised that my bill was going to be significantly more.


Now at about £29 plus tax and postage I was looking at the best part of £150 which when compared to the cost of the other U Bolts was very alarming.  So whilst moaning to myself very loudly I decided to see why this was the case.  I started by writing an email to AH4H to ask why there was such a price difference.  Then I decided to look back through my photos of the car when I stripped it down; it was so long ago now I couldn't remember what that area was like.


I then realised that they were completely different to the regular U bolt shape.  I couldn't remember taking the axel off and had a horrible feeling that I may have got heavy with the angle grinder and just cut the brackets to pieces.  Even if I hadn't done that I was worried that the things were just too worn to be re-used.  I was worried.  I wrote a second email to AH4H to explain that I'd been a silly billy.

On Tuesday evening I managed to get to my In-laws and rummage around in the shed.  I couldn't believe my luck when I saw the springs which contained the clamps and the aluminium spaces (£15 each so another good one).  For sure the threads looked a tad rusty but I hoped they would work again.


Yesterday, Saturday, I got to grips with the brackets and found that they have weathered well.


Above they are de-rusted and below they are drying on the radiator having had the threads painted.


Sunday, 17 January 2016

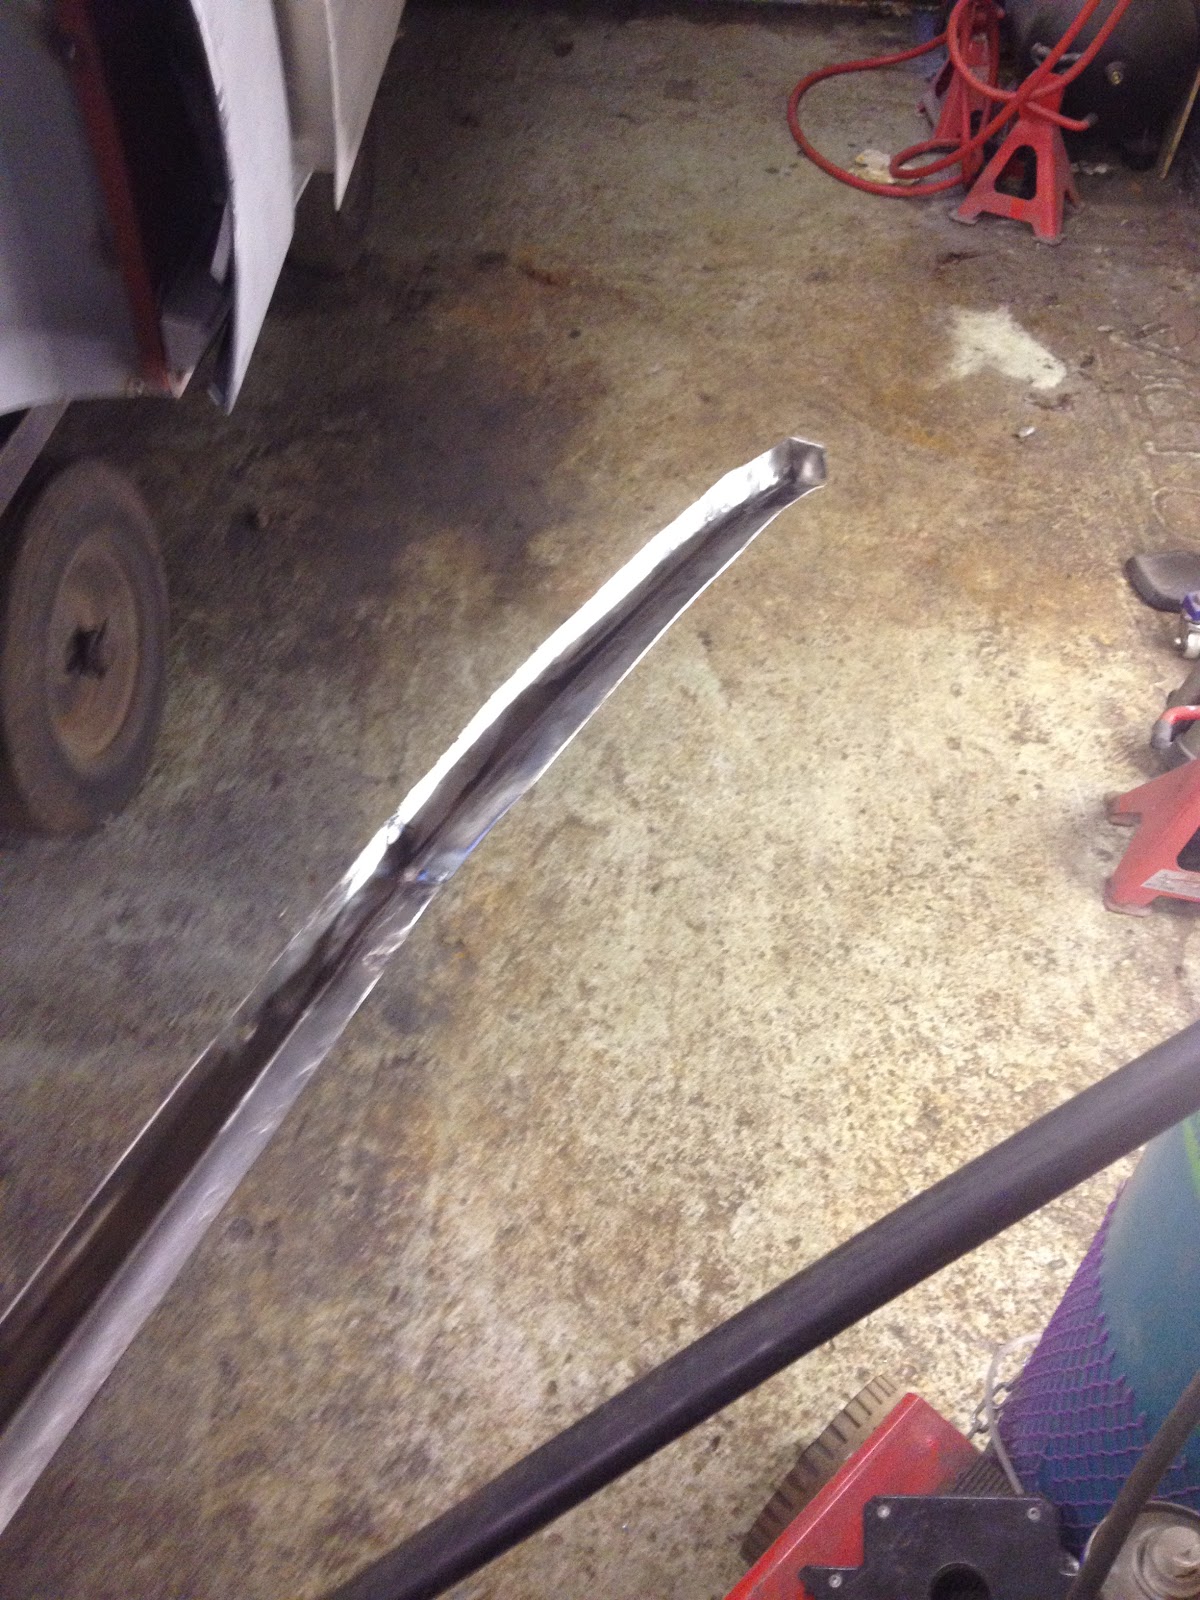
Sunny Sunday and the garage door was opened again, yippee.  One of the struts that I extended yesterday was quite rotten on the opposite end to one I worked on the day before so I cut it off and set about making a replacement.


I think it has taken a long time for me to renovate these components but I have really enjoyed it, would I have paid Ahead 4 Healeys for the part if they had actually sold it?  I suspect I would have done,.......


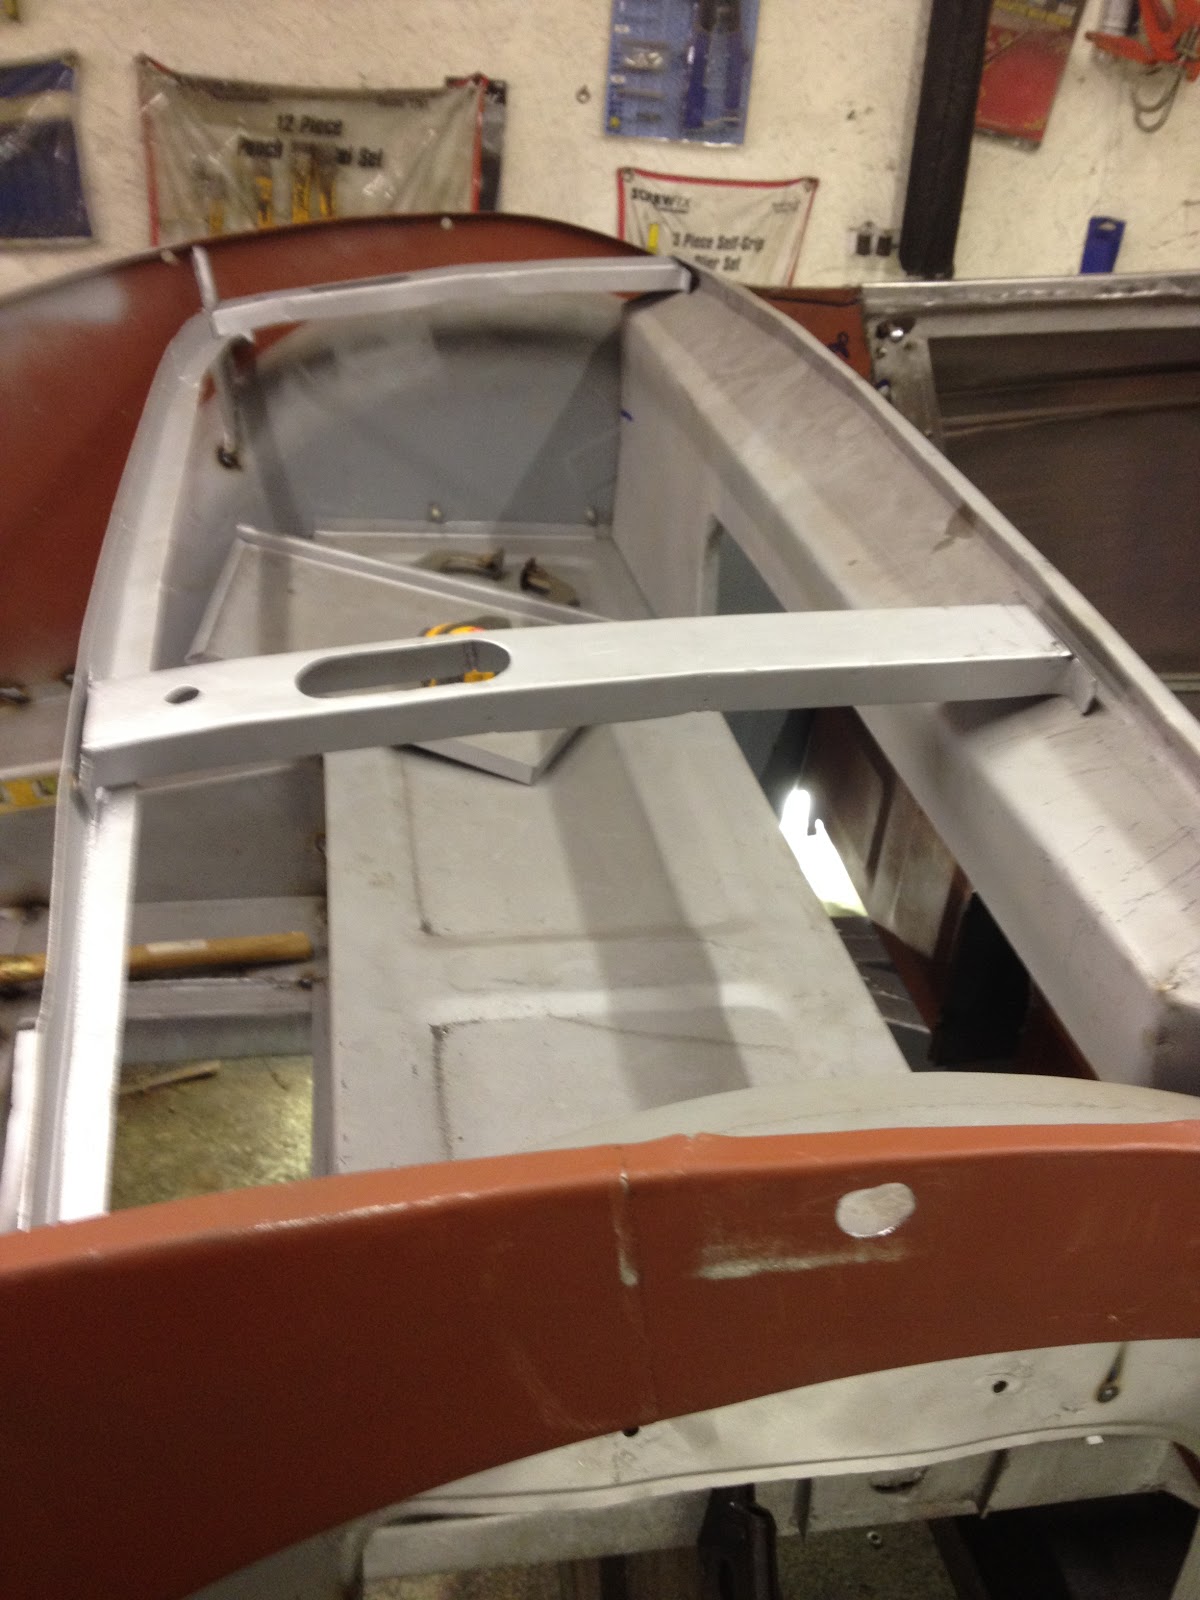
I then tack welded the rear shroud support strut in place and removed the shroud.  I can't remember the last time I have had the shroud off the car and it certainly looked different with all the recent additions.


When I removed the shroud the front support panel popped forward an inch or so which troubled me some.  The panel below is the dividing panel between the spare wheel area and the battery switch compartment and as you can see it doest fit well.  This makes me think that front shroud support is positioned well, flippineck it never ends.


I removed the door catch when I took the shroud off and decided to get involved with the door shut, yet again, by grinding down the top section of the welded up join and adjusting the B post back at the top.


I know this isn't the actual door shut below but at least the supporting body work is pretty good.  I think I might be going a little soft in the head.


The newly restored struts in place, I am ready to refit the shroud.


Earlier, before I removed the shroud I noticed and marked up the holes that didn't quite line up on the off side inner wing and shroud.  When removed I then enlarged those apertures to make sure they aligned well.  The near side was fine so I left it well alone.  So I was naturally frustrated to see that when the shroud was reinstalled it lined up perfectly to the original holes on the off side but was out on the near side.  Flippineck.  I haven't put the wings back on yet but I suspect that the door gaps are going to be all over the place, again.  I suspect I am going to need lots of patience with this car.


Saturday, 16 January 2016

Saturday again and in the garage for some more car time.  I nearly got a ticket for the Spurs game against Sunderland but lost out in the death so I nearly never made it in here at all.

I decided that I needed to weld the panel at the front of the shroud in first before I could weld the rear one in; no reason for that, just felt right.  Played around with it for a while and ended up screwing it in to the shroud to get the panel located nicely, then I welded it in. 


I then set about making the struts that go between the two vertically mounted panels longer.  They had been cut down by whoever made the car in to  2 + 2.  Here you can see the original strut next to the extended one.  I did this by welding to L shaped sections together that I cobbled together from an unused inner sill.  It was very enjoyable work but I spent the whole day in the garage and feel like I didn't exactly get loads done.  Oh well, there is always tomorrow.  And Spurs won 4-1 so I have Match of The Day to look forward to tonight.


Thursday, 14 January 2016

I started Sunday morning by looking for the part that I thought I had bought.  It was nowhere to be seen so after a lot of head scratching I decided that perhaps I didn't buy that section after all.  So I continued with the rust removal.

I decided to make a 'jig' for the section of the L shaped metal that needed replacing and essentially screwed it to the bench then cut out the rusty piece.  I cut the new replacement section to length and welded it it as shown below:


 Having replaced the section I painted it.  All done for the next time.


Saturday, 9 January 2016

Decided to keep the shroud mounting rear support and as that is next of the parts to fit working from rear to front I set about cleaning it up.

The original part is shown in the red paint I obtained it in. (I know the original colour was Healey Blue).


Having attacked it with a wire wheel on the angle grinder I removed the components that were really rusted to allow for better rust removal.


So it is Saturday night and whilst sat on the sofa chilling out I look back through the original document I have which details what inner body panels I bought from Ahead 4 Healey's a while back when I realise I have bought this panel already.  I'm confused as I cleaned the garage out last week and never saw it, some thorough detective work is required.....

Sunday, 3 January 2016

Having tried the panels that fit on top of the battery and realising that things are not well aligned I returned to the original chassis which is growing old gracefully outside the rear of our house.  It was very nice to measure something and know whether or not I was in the correct position; it feels as if I have been making educated guesses for years now and all of a sudden I have actual tangible reference points.


I noticed a few extra brackets on the original chassis that I don't have on the new one such as the brake pipe one shown in the picture above and the one next to the battery mount in the photo below. I don't even know what that does!


So armed with tangible data I knew that the very first thing I put on the new chassis was 1cm too far back so off it came.


I was a little concerned that the handbrake was 1cm too far back as well so fitted it to check that it worked properly.  It did, but it looked awfully tired, especially around the teeth area.


With the chassis cleaned up and ready for replacement of the tunnel:


I became a little concerned about the alignment so got the laser guide machine out and set it up the show the centre line on the car.


Once happy I had the tunnel central I welded it back in place.  I then mounted and welded the panel that the spare wheel sit on.


Next was the rear shroud support panel that fitted in place and made the car feel more like a car.  I have some fettling to do on this and it was rapidly approaching lunch time so I called it a day in order to take down the Christmas tree and get ready for the pub as Spurs were playing Everton at
4:00.