Tuesday, 4 August 2020

Today is Wednesday 5th August 2020 and I am hoping to take the car to the Ace Cafe classic car night next Thursday, the 11th.  This is possibly hampered by the weather forecast of rain and as I won't have windscreen wipers installed this is definitely a major consideration.

Apart from that, these are the tasks I have left to do:

Install the bonnet
Replace the windscreen glass
Fit the grille
Fit the wiper mechanism 
Install the tunnel cover
Paint and install the battery cover
Install the fire extinguisher 

I am hoping that my lovely wife will have got me some wiper blades for my birthday which is on the day after the Ace Cafe night so I could ask her for my present a tad early.

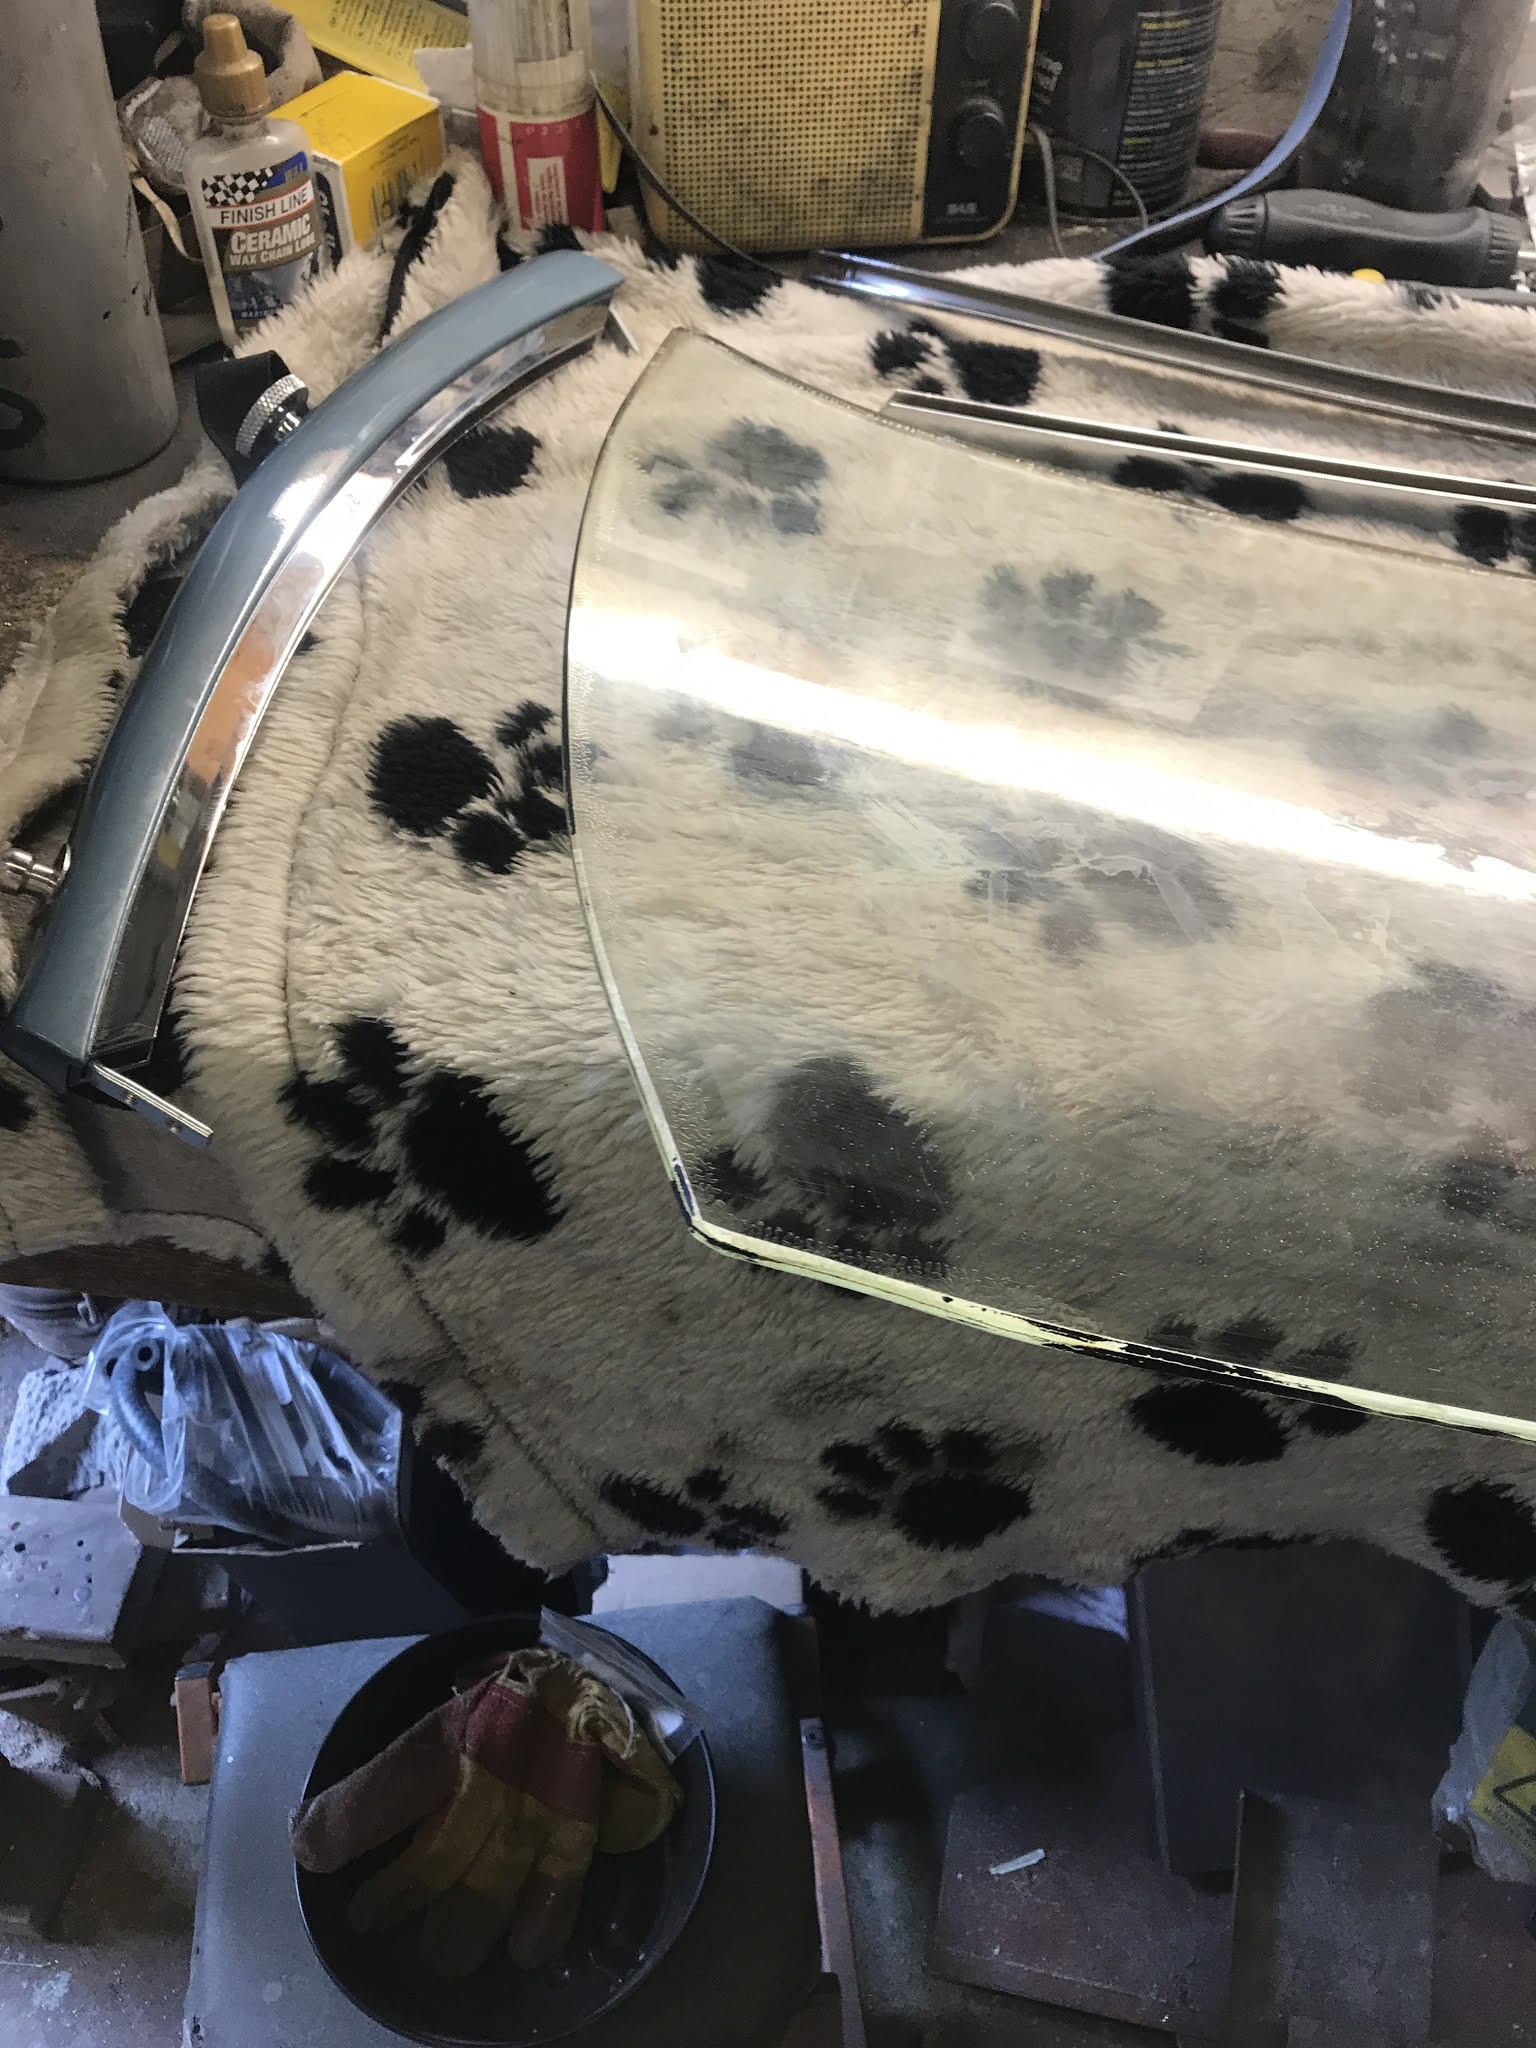
Other than that I am conscious that I have two very tricky tasks ahead of me.  The windscreen is a real worry as the glass I have now installed has cracked multiple times and it must be it is out of line with the mounting brackets.  I had initially thought that it was the screen frame that was the problem and so I have ordered another set of corner brackets along with the glass from Moss which I am collecting this morning. I now think that the mounting brackets themselves might be out and this worries me, a lot.  I had not worried about this before as these brackets mount to the front bulkhead and that is one of the few structural pieces to be carried over from the original chassis.  But thinking of the fitting of the screen I am concerned that the bars that slide into the mounts from the windscreen pillars would not line up that well so I am concerned that the pillars may be out of line and changing that is going to be a big job.

I'm also extremely negative about the bonnet closing mechanism.  I know that the bonnet fits the car as I have previously installed it but I have not installed it with the bonnet catch mechanism.  What is the chance that this will line up?  based on every stage that I have got to so far in this rebuild I am inclined to think that this is somewhere around zero.  I have nightmares when thinking of the bonnet closing and not coming open again, it is not easy to get to.  Oh well, I shouldn't be worried about what might not happen.

The rest of the list should be ok to do.  Then I just need to drive the car, gulp.  It is now road legal with tax, MOT exemption, insurance and breakdown cover which is good. 

Going to be a week to remember.

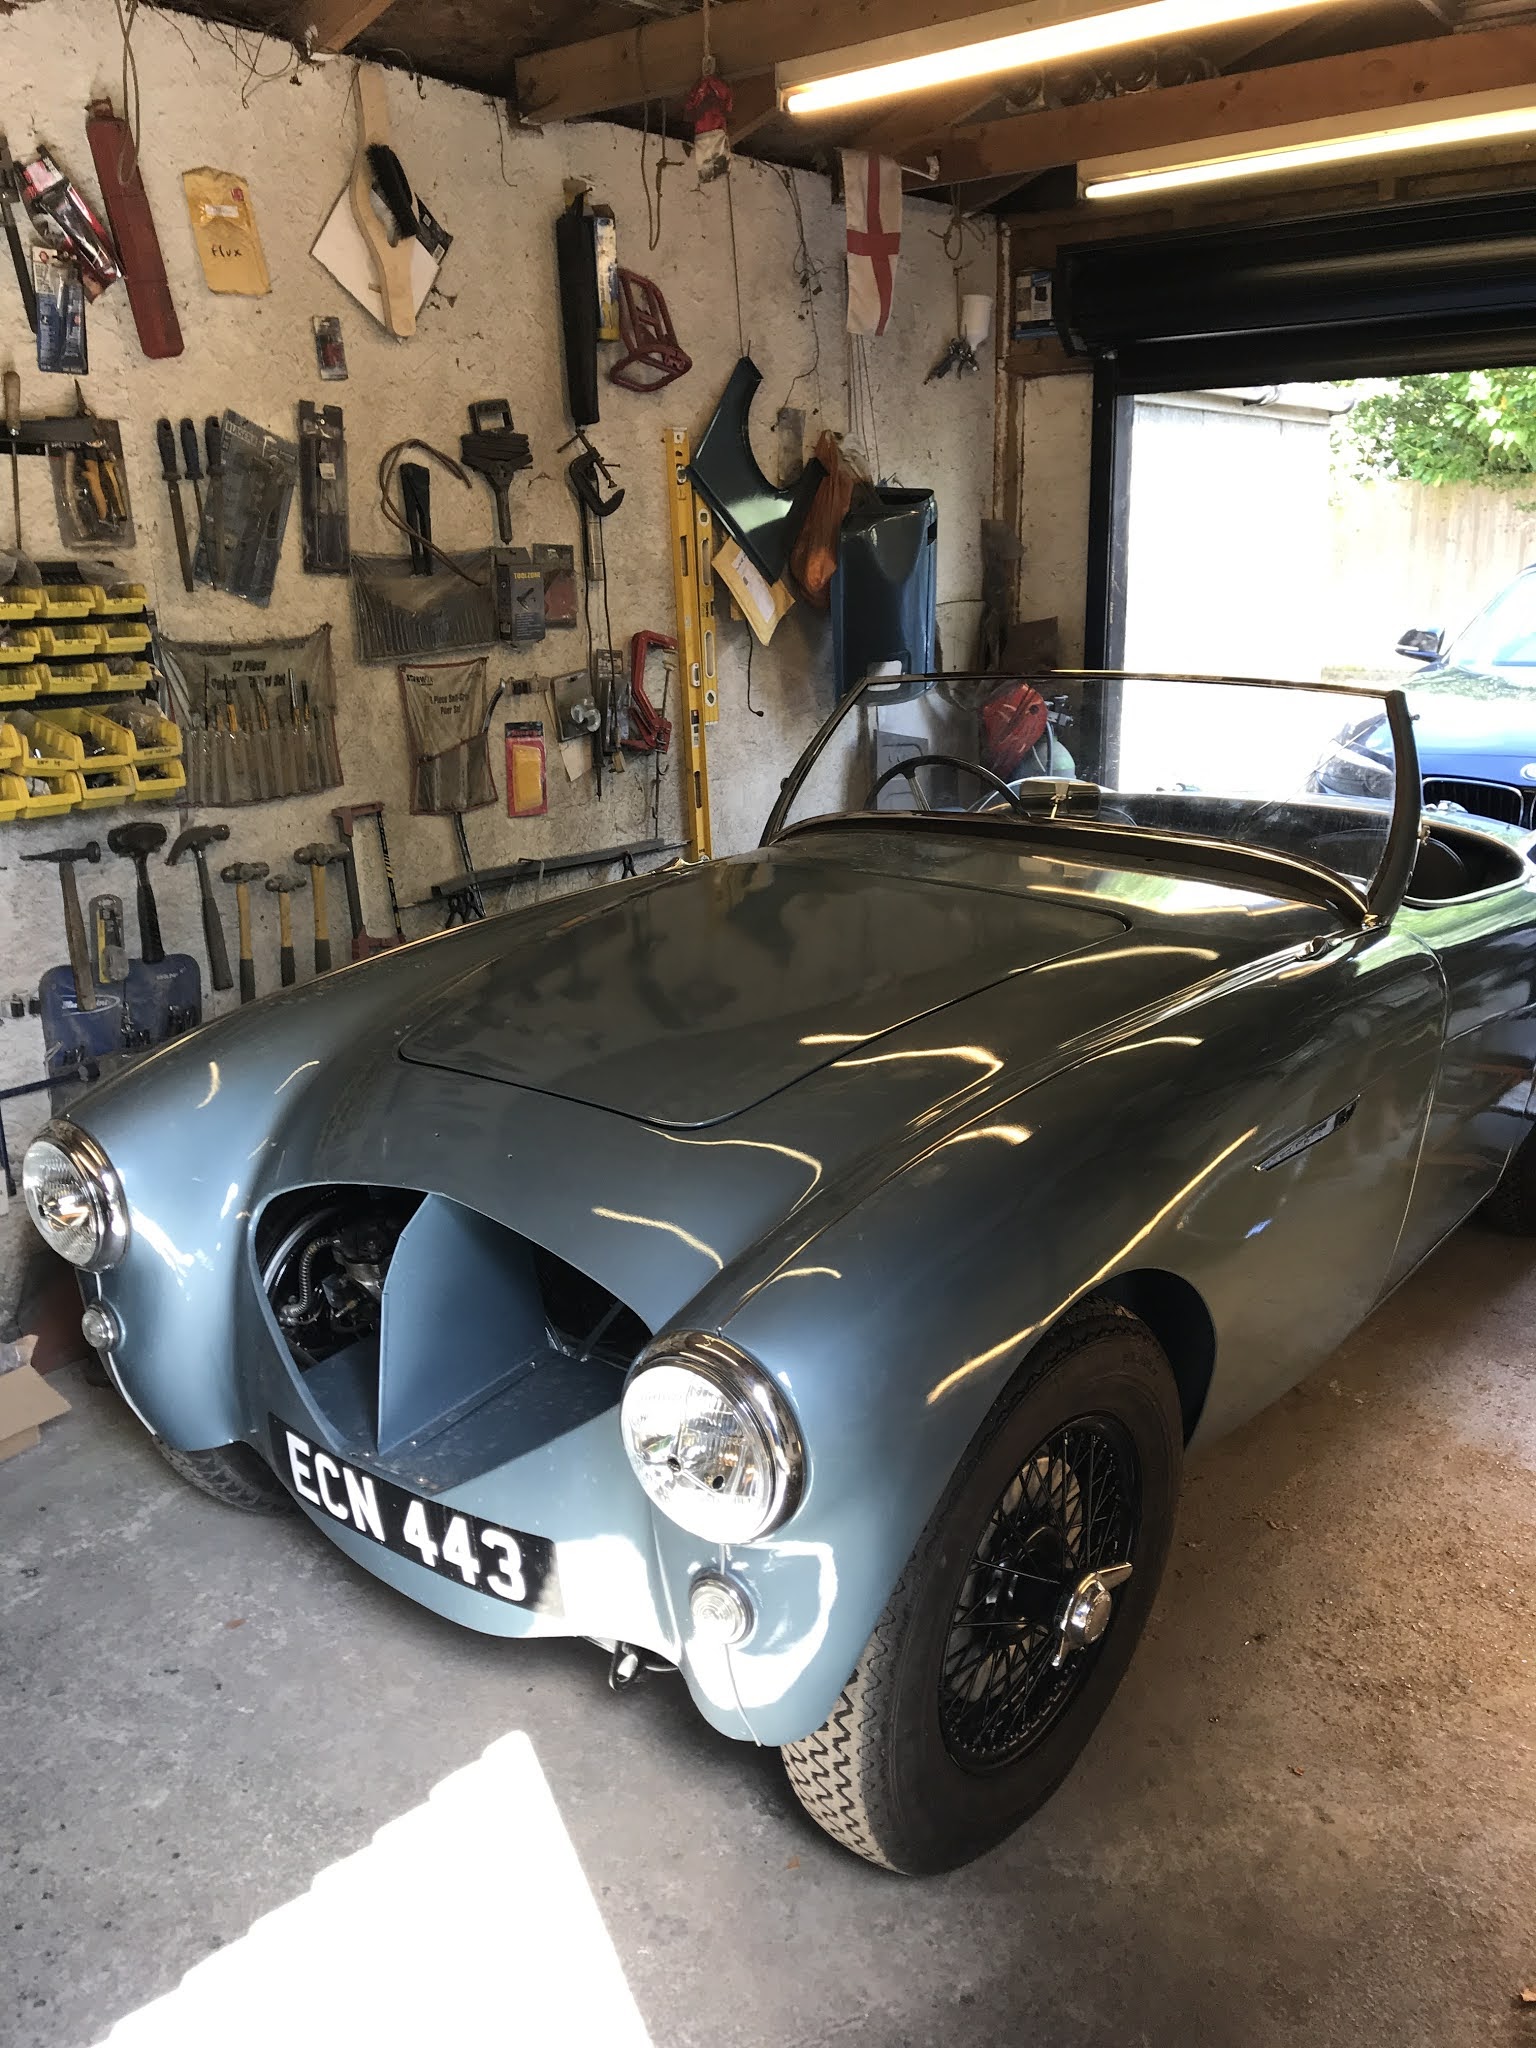
I snatched a few hours in the garage today.  I had retrieved the bonnet from its long term storage yesterday but not yet fitted it so I plonked it in the hole it is supposed to fill just to keep it safe and was rather struck by how much of a car it now looked.


I spent a long while working out where I could put the fire extinguisher and ended up thinking that it is probably best in front of the passenger.  Will consult with chief passenger before I start drilling.


The main business of the day was to raise the steering wheel.  This was not simple.  I only had to remove one bolt on the bracket that clamps the wheel and slide this along the column one place in the line of holes and replace the bolt.  However, it was impossible to see this area and so the job was done chiefly by feel.  Also, I had used the holes in the main support bracket from the front bulkhead to the dashboard for earthing the loom so this needed to be removed.  The plates that bolt to the air box on the bulkhead also needed removing and replacing which required drilling, a task that was now tricky because the area was difficult to get to.  All in all, a very fiddly few hours for a difference of about 1cm in height for the wheel.

I could move the column up a little further but this would require some modification to the dashboard and that would be a major job so I will live with it for now and then decide on it as a future winter project later on.


Sunday, 2 August 2020

Door: sorted.  Really pleased.  They both open and shut well, the door gaps are good, the safety latches work and the internal straps are in.  Took a whole day but it was a very successful day.


Saturday, 1 August 2020

Working from the rear to the front I decided to fit the boot next.  I was slightly amused to realise that I couldn't find the gaskets for the hinges despite looking everywhere.  I hardly have any parts left now so haven't experienced this type of thing for a while.  In the end I made a set out of gasket material.  They worked but the boot doesn't sit at the correct height on the cockpit edge, something that I may look at in time.  When I bought the hinges the previous owner said that he didn't think they were well made and wasn't sure of their alignment; for now they'll do.

The boot handle didn't fit at all which was frustrating because I had to drill and file out the holes, this is the type of activity that I would have preferred to have tackled prior to the boot lid being painted, oh well.  Once done I scoured the internet for pictures of the rear of bumper-less cars to see what the common height for numberplate light is before drilling that out and fitting it.  Then the numberplate.  It being located so low on the rear made it tricky to align and I am convinced that I have it on wonky, again this is something I may look at later on if it troubles me.  

I have just one job left to do on the rear and that is to fit the badge on the boot.  It has three studs that should fit into holes on the boot but I have none.  Now I could take an educated guess at where they should be and then drill them but I am a little wary of doing so.  I decided to order some double sided tape and use that with the badge as that way I can move it around until I find the place that it sits best without worry for putting holes in the wrong position.

The rear looks fabulous.


I looked at the door next.  I have two jobs, fit the cable used for opening them from the inside and align them so that they open and shut correctly.  My only remaining original door is stored at my Mother In-Law's home and I went to look at it to see where the cable is mounted.  I'm a little disturbed that the return on the inside of the door needs to be cut away as the doors are aluminium and I suspect this will adversely affect their structural strength.  

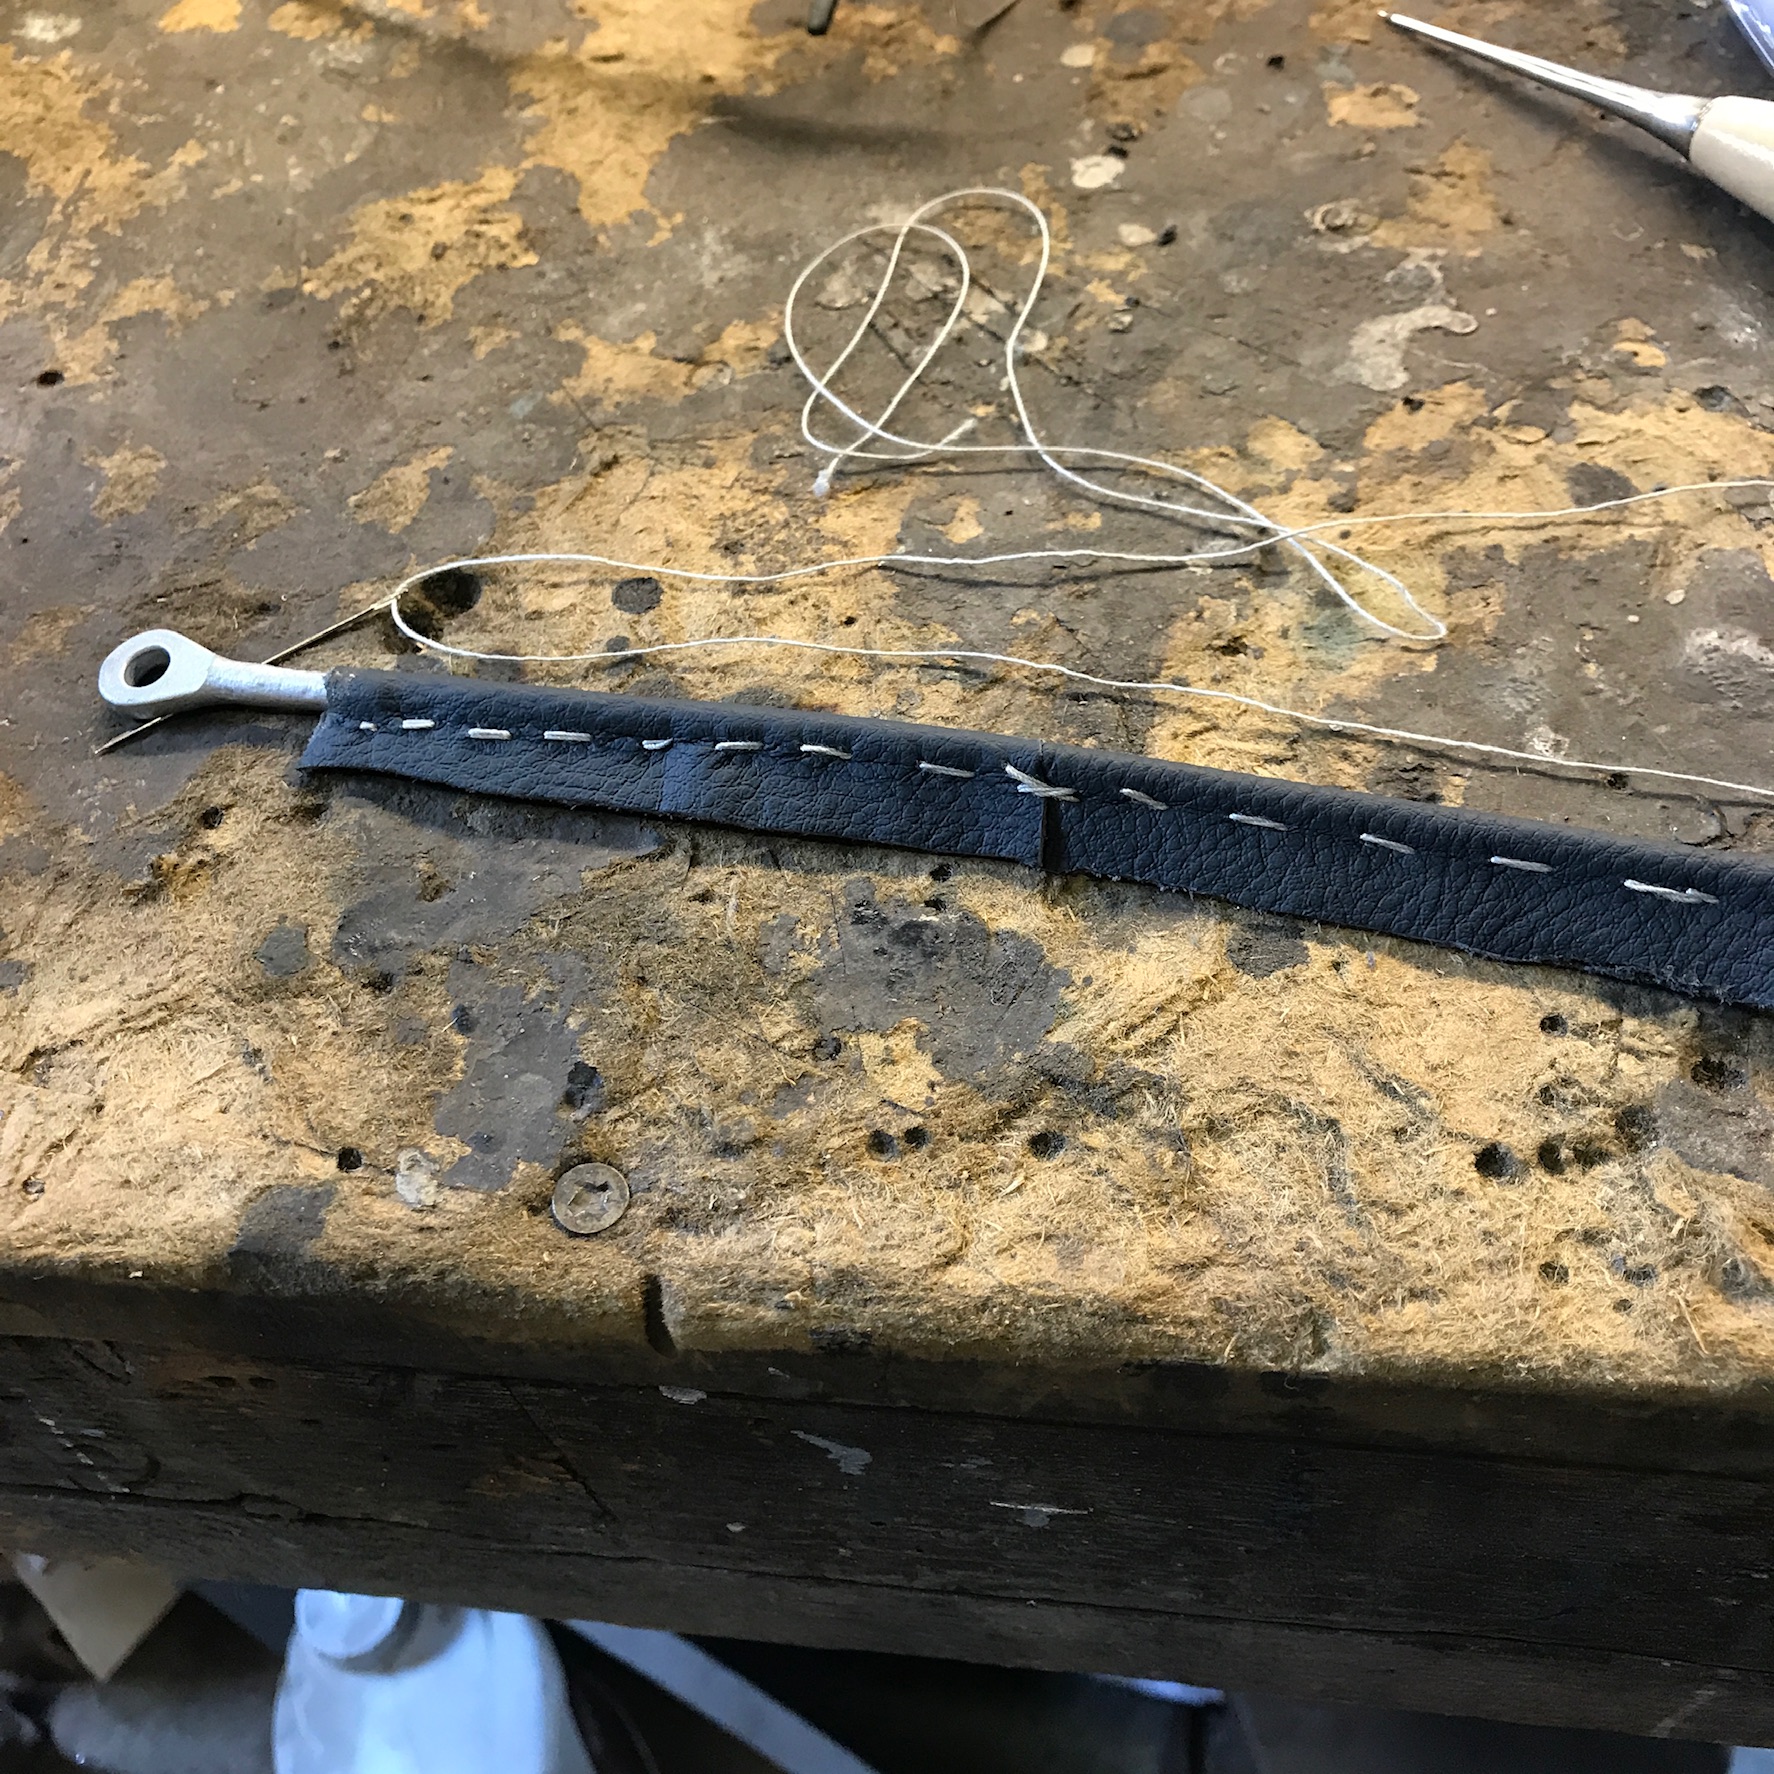
I had removed the rust on the cable ends last week and painted them so all I needed to do was cover them.  I had enough off-cuts of leather from the seats which I decided to use as it felt nicest but does mean that I will need to make the cover is several sections.  I glued the leather to the wire initially and then stitched it.  These look fit for purpose.


Tuesday, 28 July 2020

I have checked and the windscreen and rubber is £155 from Moss so I may do that sooner rather than later.

Spent the day looking at the engine.  I don't know much about setting up timing and fuelling so I spent a lot of time reviewing the videos available on the internet and eventually had enough of an idea to give it a go.  The most helpful was the series by James (of Resto Nation fame) which I studied extensively.  

I started by looking at the timing and then moving to the carbs.  In all the years I have owned MGs and the like I have never tinkered with SU carbs and it was really interesting to see the effect small changes made.  Following the step by step guide James provided I got the engine running really well, I am delighted.

I am also delighted to discover that the overdrive works.  With the prop shaft removed I had the car running in 3rd and manually pushed the lever and got it to engage.  That is fantastic news as it means that now I just need to sort the electrics out and I can do that at my leisure.  I refitted the prop shaft the correct way round this time and started to size up the tunnel cover before running out of steam.

I did have a couple of challenges along the way, one of the float chambers decided to pump petrol out of the overflow for some reason but a quick strip down and blow out sorted it.  Also, after the first hot run I was walking down the garden path to get a fresh coffee when I heard a massive bang and turned round to see steam coming out of the garage door.  The floor was saturated and the car covered in water.  At first I thought it was a core plug but it turns out that the radiator hose had popped off the water pump.  Soon fixed but the mess produced lives on.

Getting much closer to a drive now, very excited.  The Ace Cafe has a classic car night two weeks today and I would very much like to be there, fingers crossed.


Monday, 27 July 2020

Friday, Sunday and Monday to fit a cracked screen, oh my.


The above photo was taken in May and it clearly shows the windscreen frame attached to the pillars and installed on the car.  Since then I had ordered a set of corner joints, 2 sets of screws and painted the pillars car colour.  So far so good.  I then fit the corner joints and of course they don't fit.  I can't use the old ones because they are rotten and liable to brake if you so much as look at them.  I am lucky that in amongst a pile of screws that I have I am able to ascertain that the thread is UNF 6-40 and that I can buy some taps for very little money to enable me to make some new brackets.  I am unlucky because of all the metal scraps I have kicking around the only thing that is the correct thickness is a piece of angle iron which needs cutting into strips before I can begin.


I make loads of these damn things and it takes hours.  Eventually I make progress.


I put it together and trial fit it on the car and all is good so I start to fit the screen.  This is a nightmare, I just can't get the U channel with the rubber onto the grass. 


Eventually I give up and go and look on the internet for guidance from those learned people who have done it before.  I discover that it is a hard job and this makes me feel better.  I also discover that there are different thicknesses of rubber and glass, for crying out loud even the fact that I have had the channels re-chromed is a factor.  So I decide that I will bodge it and just put the rubber on one side of the glass and if necessary use some silicon sealant.  I am not worried about this as I am using a second hand screen which has a crack so I don't mind if the glass breaks in a few weeks time as it needs replacing already.  I go back and just throw it together with the rubber on one side but of course what happens is that the rubber seats itself correctly, would you believe it.


So I feel a little chuffed that it has all come together after being so cheesed off with it but this nice feeling only lasts as long as it takes me to fit the screen on the car.  It doesn't fit in despite the fact that it fitted perfectly last time I tried.  During the process of ramming the damn thing into the pillar brackets the glass cracked again, and again.  Oh well.


In many ways I am not bothered at all because I knew this was going to happen which is why I was fitting a cracked screen in the first place.  Well that and the fact that I am out of cash and I want to get the car on the road so I am happy to forget about the cost of a screen at this stage.  However, what does bother me is that now I have tried the screen it is really clear that the bottom pins on the pillars are too far apart and this can only be solved by filing down the newly chromed channels and making yet more corner pieces.  In other words this item needs a lot more time and attention given to it and I don't want to do that now.  It feels like a task for the half term holiday.  

I'll end on a good note.  I arranged for the insurance to be upgraded from the current status of 'laid up' to full road use.  Surprisingly the cost was really rather good value at £58.  I had got the quote via email last week so called to see what the cost would be to have my wife added only to discover that I had already added her to it.  Having bought it I received the details in an email and discovered that the policy also included RAC breakdown cover and I was expecting to pay £50 for that alone, total bonus.  Well done Hagarty Insurance. 

Thursday, 23 July 2020

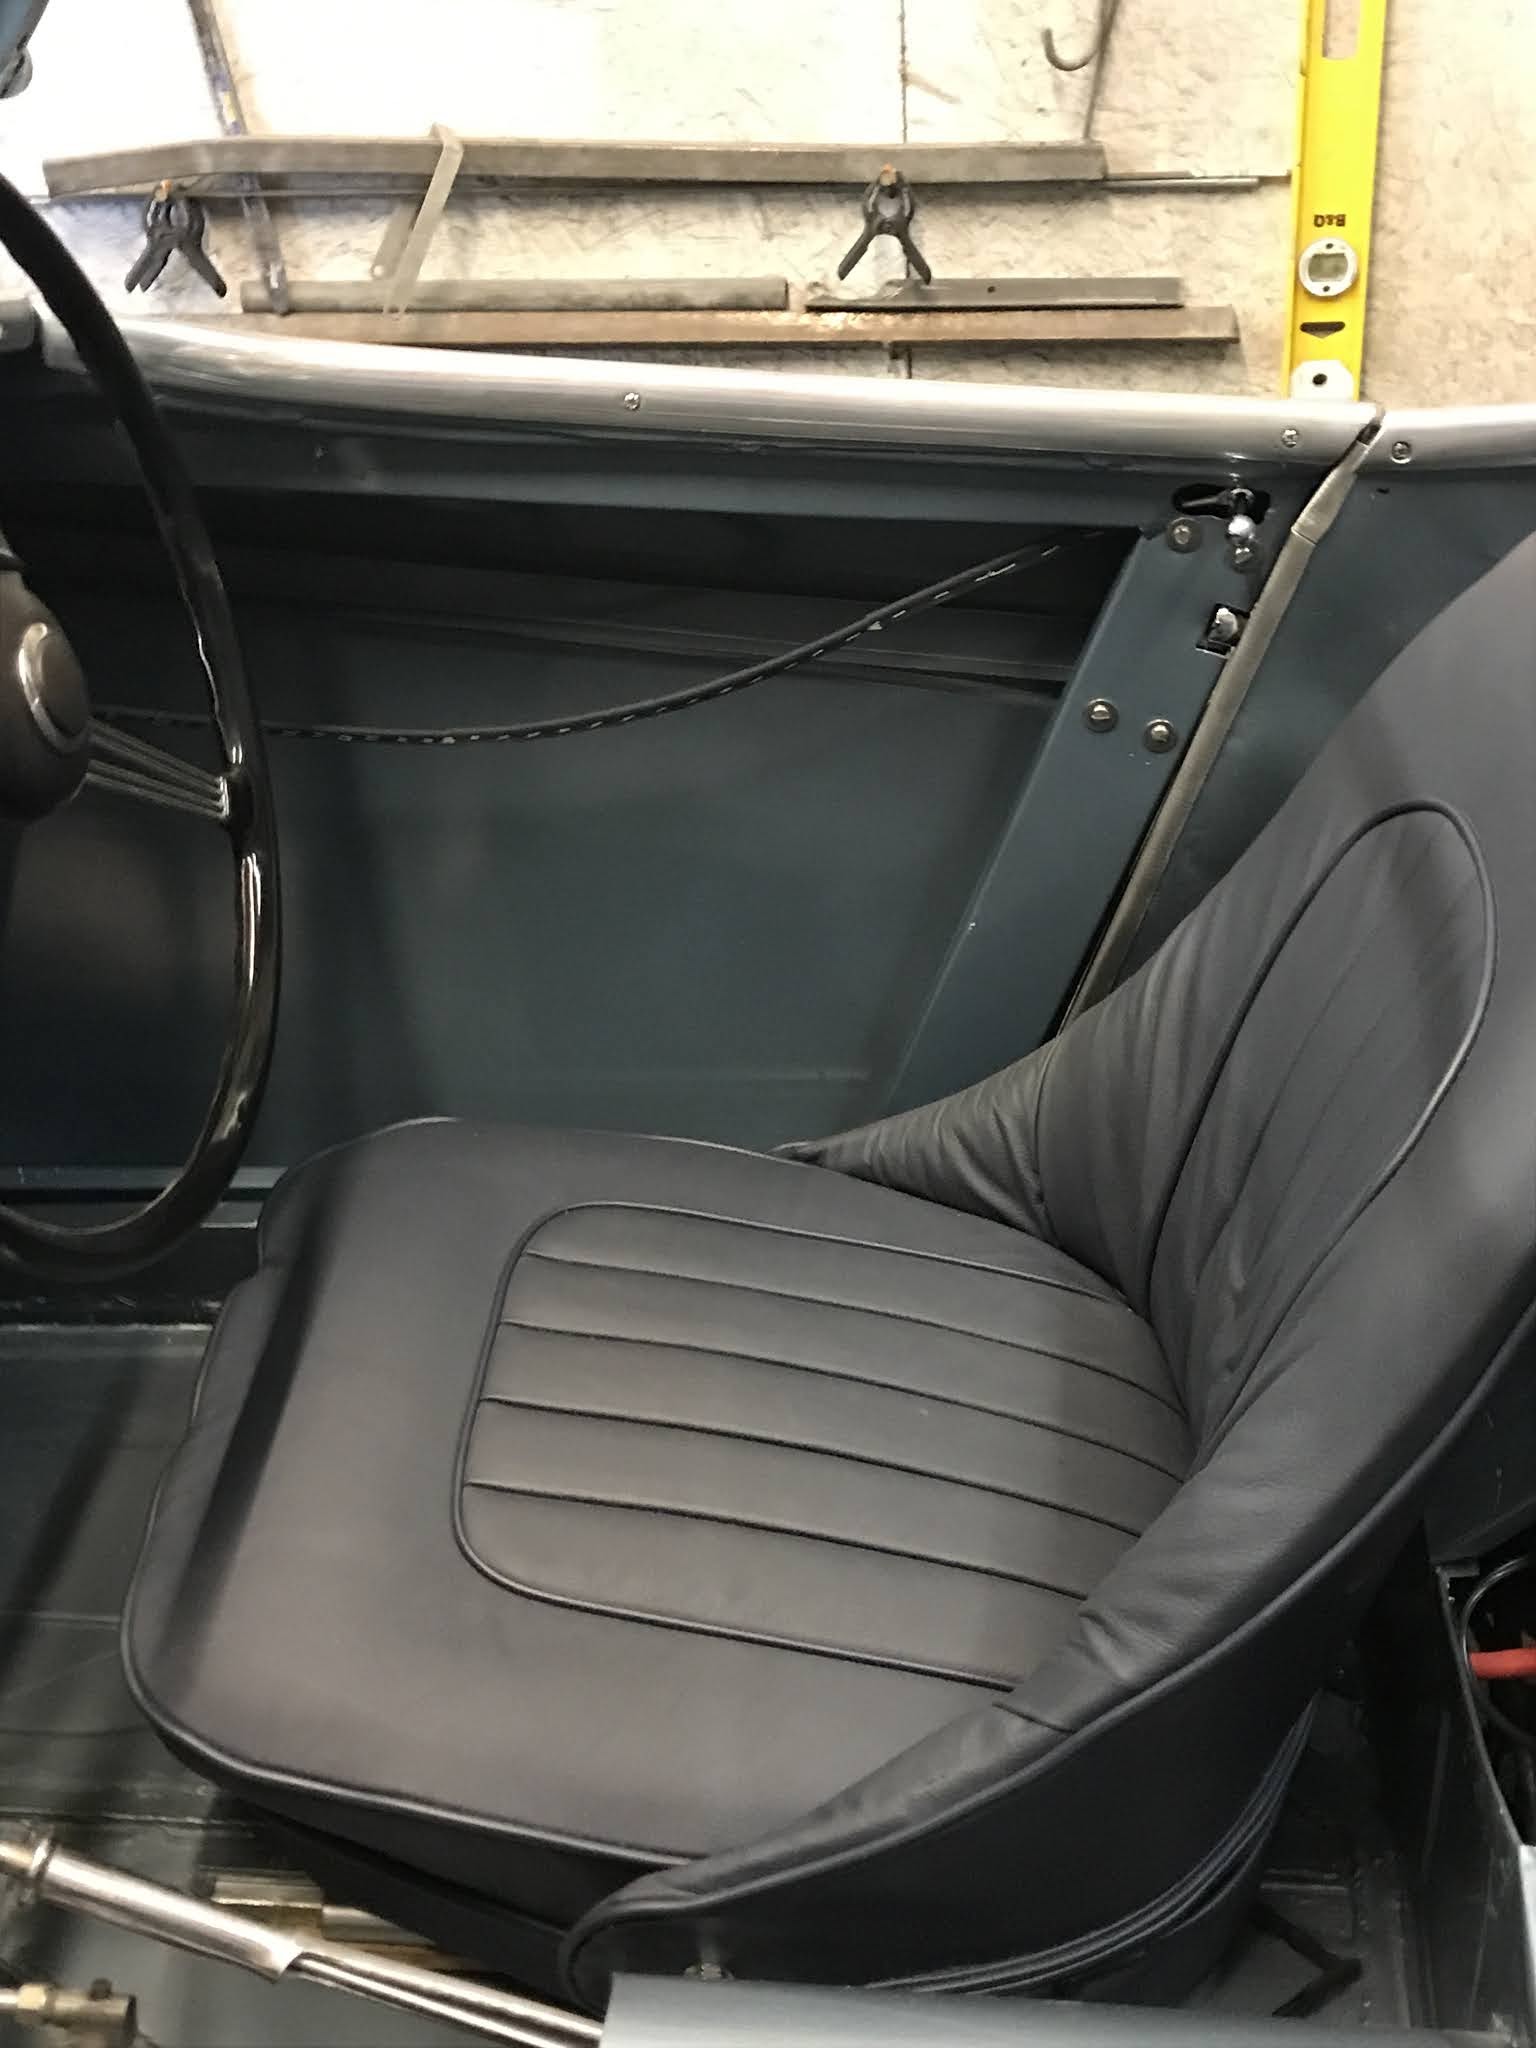
I spent the best part of a day cutting the holes in the floor for the seat.  Essentially I was nervous about it as I didn't want to get it wrong.  The inner holes are painfully close to the chassis rail which will make fitting them interesting.  The passenger side required removal of the exhaust and larger holes to be cut into the heat shield.  All done now so I can fit the seats in and then move on.