Saturday, 2 January 2016

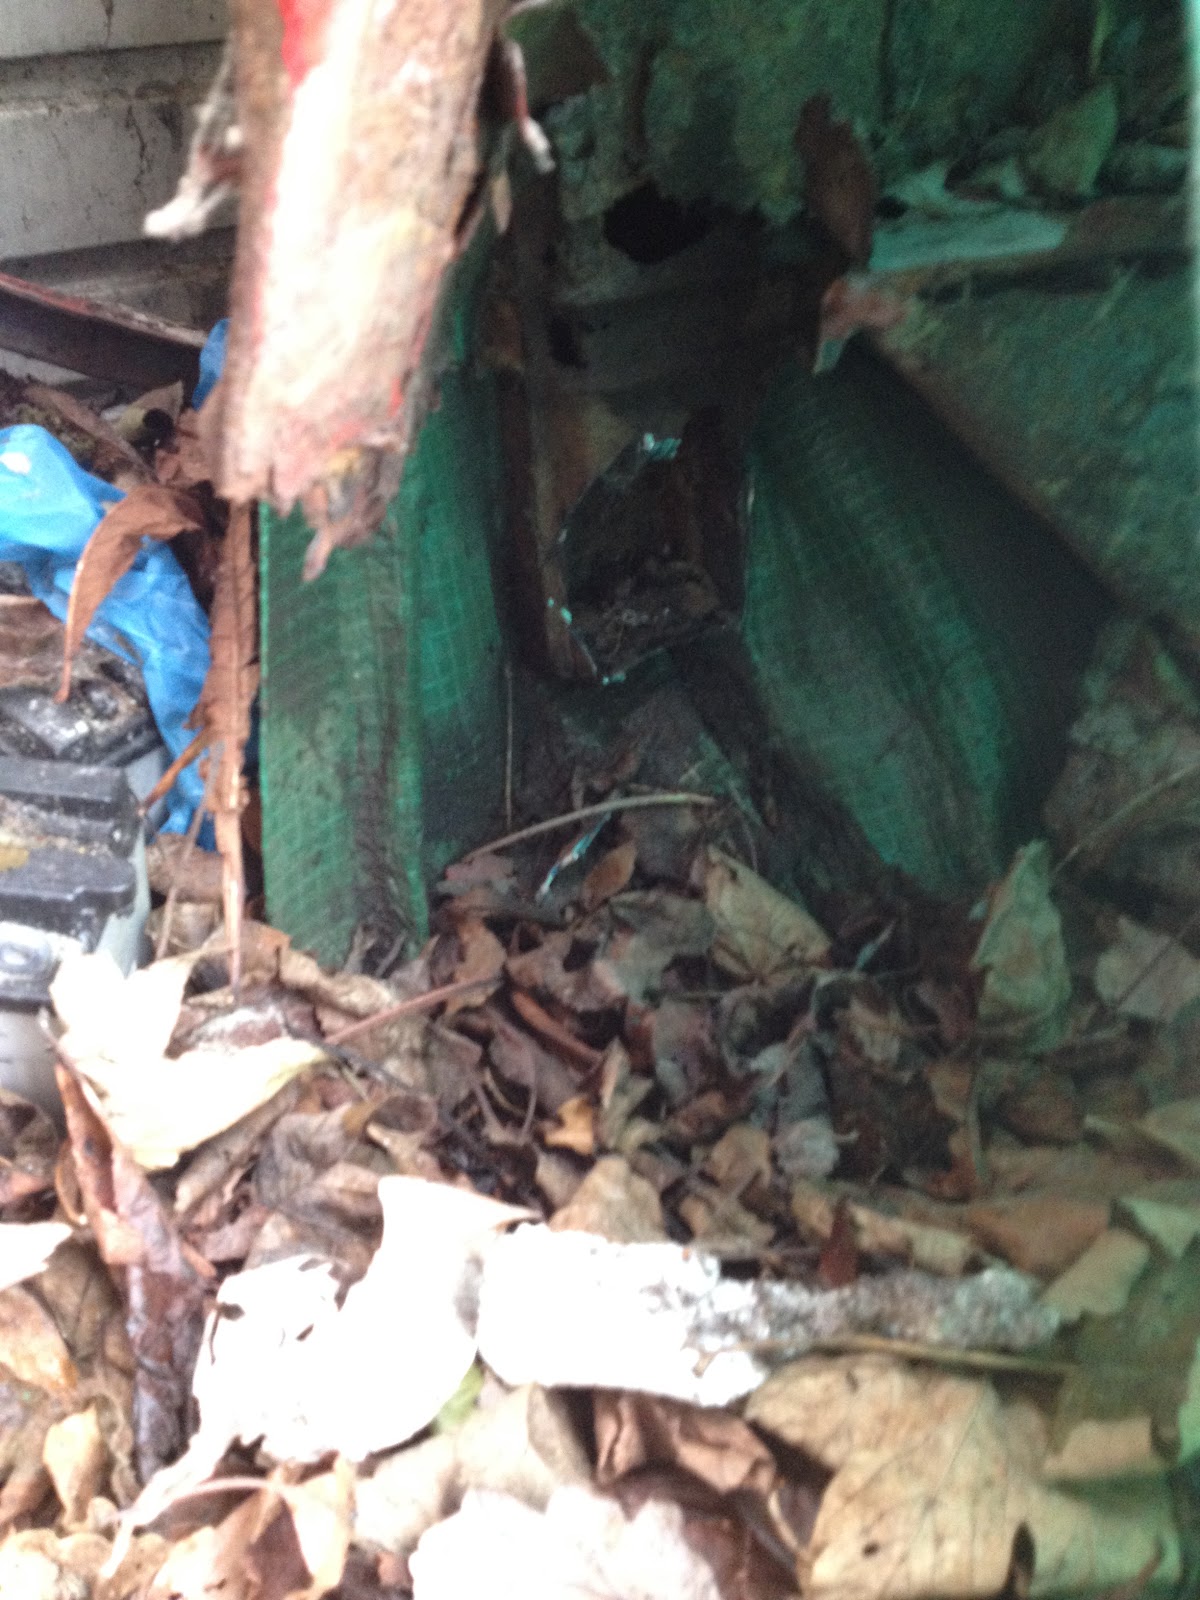
I think I should have posted a picture of the finished clean up yesterday:


It feels much roomier now.  Temporary procrastination over and I looked at one peculiarity on the rear inner wheel arches.  The bump stop boxes fit on the near side but not on the off side because the captive nuts were welded in the incorrect position; something that always baffled me.


You can see that the captive nuts are about 1 cm too high.  The other side is perfect though, weird huh!

So I took the captive nuts off and welded up the hole then replaced them in the correct position.


I then turned my attention back to the boot and welded in the rail that runs around the very back of the boot area.  Then I completed the brackets that support this rail.


The next job was the panel that the spare wheel sits on which I temporarily positioned as shown.  


I then tried to fit the panels that sit above the batteries only to discover that they don't exactly fit.  I then looked at the rear tunnel cover and rear heel board only to decide that the tunnel cover is too far back in the car.  Odd really as this was the very first panel I fitted and I am sure I would have measured it to death.  It is only tacked in place though so I think it will be removed and repositioned next time.

Friday, 1 January 2016

My wife and I were looking back through some photos on the computer over the Christmas holiday when we came to a picture of John Henderson's 100 that I took when I went to see him and his car.  I had a lovely time and got a lot of useful information from that meeting.  We came across the picture because I had looked at it earlier in the day for reference purposes.  Anyway, we saw John last summer at a Healey open day at Orchard Restorations and his car looked fabulous.  He asked how my car was getting along and I said it was in about the same position that his was when I saw it.  On the drive home I felt good about things as that original meeting hadn't been too long ago and therefore I felt that I was making steps with my car.  However, my wife commented on the date of the photo which was 2009 and all of a sudden I felt a little glum.  You see that John's car at that point was way ahead of where my car is now.  I have a lot to do and the years are floating by.  Also, the parts are getting more expensive by the month.  In fact the finished cars are getting more expensive too, I got a eBay notification of a 100 put up for sale at £79,500.  How much is that for an old car?

So I decided that I really should get a wriggle on with the car.  My wife asked how I was going to do that and I said a few things including that I wouldn't procrastinate any more........

Today I went into the garage to continue with the boot area.  I'm not sure how it happened but I got distracted and started cleaning up the garage.  My wife came in, snapped a few photos and asked me about procrastination with a smile,........  I spent the afternoon in the garage and did nothing but clean out under the bench.


Wednesday, 30 December 2015

Decided that I should be bold today and fit the boot floor and weld it up:

Trial fitting the main floor panel.


Main panel tacked on and the corner sections and rear chassis legs in place.


All welded in, I have a boot (trunk for those on the other side of the bid pond).


Wednesday, 23 December 2015

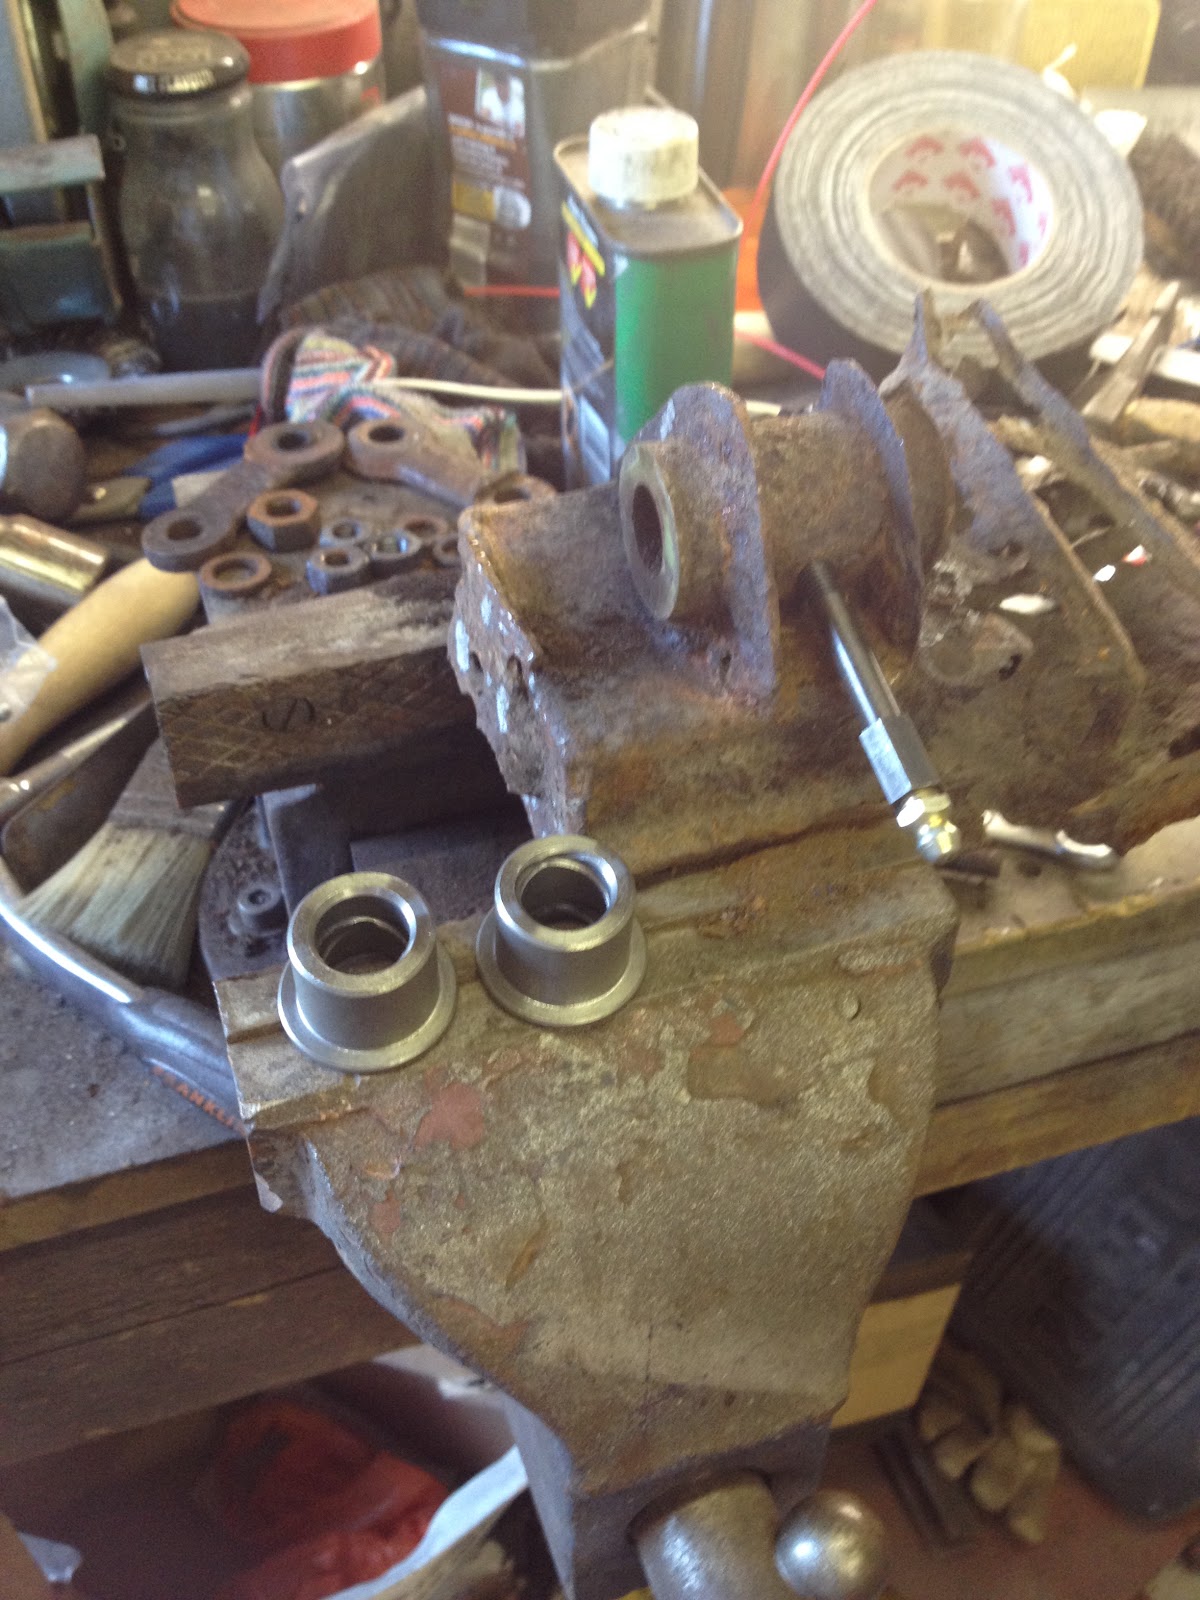
Two days before Christmas which is always exciting and I have a day of garage action.  I started by pressing the bushes into the chassis on the near side to finish that job.

I then turn my attention to the front suspension because I want to return the complete units to storage at my Mother-in Laws house and free up some space.  I actually drove them round there last week along with the petrol tank but decided against dropping them off because I need to keep hold of the shock absorber.  It occurred to me that I need the shock to ensure that the inner wing doesn't obstruct its movement and mounting the inner wings is rapidly becoming a job I need to do.  I detached the shock from the front suspension by removing the bolt that holds it to the top of the king pin assembly.  Naturally I killed the bolt in the process.


I was about to load the wishbone/king pin assembly back into the car for transportation when I noticed the two bolts that hold the wishbone into the chassis.  Having spent hours sanding / polishing the chassis mounts for the rear leaf springs I realised that I would need to ensure that these fit into the front mounting apertures post galvanising.  So I removed them from the wishbones and cleaned them up.


Having done that I dropped off the front suspension units and brake drums that I worked on a month or so to the In-Laws for storage.  When I returned I had a package from Ahead 4 Healeys containing the shackles and pins.  I knew instantly that they had sent what I thought was the outer shackle when I needed the inner, damn.  I gave them a call and discovered that they had started their Christmas holiday an hour earlier and wouldn't be back until I was safely back at school, oh well.  I was pleased to get the lower shackle pin though as it meant I could see if the bushes were properly aligned.  I greased the bushes and eased the pins in, success.  The near side pin feels perfect, the off side pin is very tight, there is the correct movement but boy is it stiff.  If the car was being used now I wouldn't be troubled by it as I am sure it would settle in nicely.  But as it will be years before the car is used I will have to make sure that it settles in correctly as I wouldn't want to have to change the pin or the bushes.


If you look at the two vertical marks on the chassis in the picture above this shows the place where the rear chassis member that holds the bumper mounts.  Directly alongside that sits the boot box section.  This section also runs along the rear edge of the chassis meaning that the whole area is extremely difficult to get to.  Perish the thought of replacing those bushes on a complete car.

Monday, 21 December 2015

I then set about sorting out the chassis suspension mount including the angle of the dangle of the grease nipple.  I started by welding the existing hole and then drilling and taping a new thread.  I decided to do this rather than bend the grease nipple as that seemed very short sighted.


Once done I am instantly relieved that I did it this way, it looks loads better.


Finally I finished sanding the inside of the chassis suspension mount and then pressed in the metal bushes.  It looks good now that it is completed.  I found out that the metal bushes are used to ensure that the leaf spring stays in correct line with the chassis.  Makes sense.


I looked on the Ahead 4 Healey's web site and discovered that the shackles that I was thinking of replacing are about £50 for the set and that seemed awfully big.  I decided to find the second pair of shackles to see if they were salvageable. Below is the original frame in storage outside the back of my house.


When I look at the rear end I see that one of the petrol tank straps is still useable.


When I delve in I was please to discover that the chassis still had the shackles.


So I got two of my favourite tools out and removed it.  Great fun.

The chassis looks a little violated but what can one do?


I cleaned up the shackles and decided that the inner two were too warn so I ordered replacements for those two and saved the good two.  Better than a kick in the teeth I guess.


Sunday, 20 December 2015

The Christmas holidays are here, a great time to be a teacher.  Over the past few weeks I have finished getting the boot floor to fit correctly, de-rusted it and painted it in the usual weld-thru primer. Today it was sufficiently dry to enable me to get the car out and fit the front near side wing back on.  I am a little perplexed by the door gaps which are all different again.  I am going to have fun when I eventually get round to fitting them for the final time once painted.  Anyway, I am comfortable that the floor doesn't distort the back end any so will weld it up in the next few days.  I know I have shown these before but it really is starting to look like a car:


I then got round to trying to fit the metal bushes that the rear leaf spring mounts on to.  It is a bit of an odd one; solid metal with grooves cut into the inner surface for grease to lubricate.  Not sure why they didn't use rubber bushes like they have elsewhere.  Anyway, they don't fit.  I think this is mainly due to the zinc plating and so I got the Dremel out and started to sand the internal aperture.  They almost fit now but I suspect that they need to be a tight fit to avoid any play so I will investigate and sand further later on if needed.

I then took the original section apart to see if I can re-use any of the original parts, don't think I can really.  One of the link arms is ok but the other is worn severely so it makes sense to replace them as a pair.  Note the bushes in the photo below; the original items are fused to the chassis .  Note also the new grease nipple which extends downwards.  If you look at the bottom photo you can see that the holes have been drilled at the wrong angle, flippineck!  I have  choice, I can weld up the holes in the chassis for the grease nipple and drill and tap a new one at a better angle or I can fit the grease nipple and bend it down.  Will think on that over night.