Then I took the templates for the panels behind the grille that Tony Robinson sent me several years ago and started on them by using some baking paper as tracing paper to cut out and then transfer the pattern to the aluminium sheet. This made me smile as it reminded me of the day of a maths GCSE exam at work that we ran out of tracing paper and so had to improvise by running to the local Tesco supermarket to buy baking paper for the students to use; they never batted an eye.

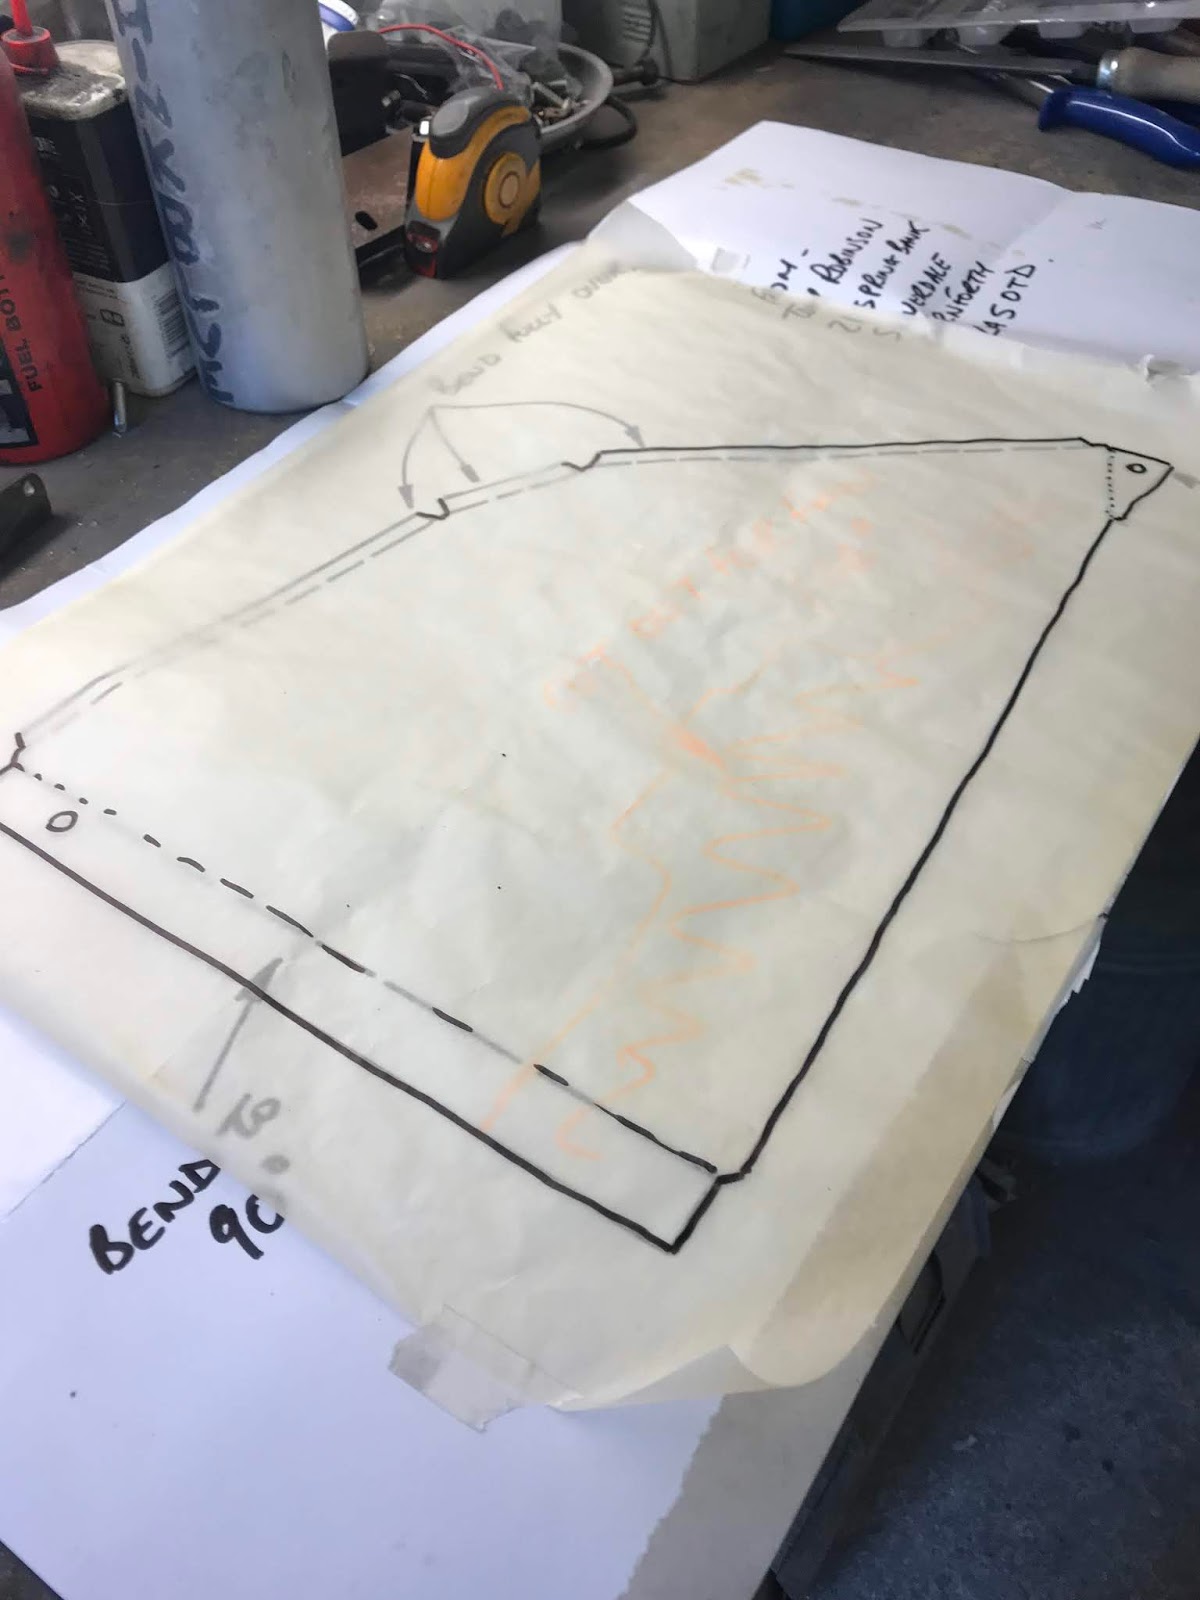
It was quite enjoyable making the panels. Having cut them out I bent some of the returns over using a mini anvil and a hammer but noticed that it introduced some curvature into the panel so I decided to make a clamp and see if that worked better. I have a few sections of angle iron and by clamping them in the vice and using G-clamps I was able to secure the metal so that when I hammered it over it remained straight, great. The floor section of the set worked wonderfully and looks great in situ. I am rather drawn to the polished aluminium look and might not paint them after all, something to ponder.


At this stage I tried the grille to check that the panel didn't interfere with it, it didn't. The grille looked a little ramshackle when I first picked it up but it looked wonderful on the car. I was particularly pleased that it clamped against the bodywork really well without significant gaps, totally cool.


I posted a picture of this on Instagram and decided to use one of the colour filters they have, can you see which one that was?
When I fitted the vertical section I realised that bottom return wasn't well aligned for my car so I straightened it and then added it again but in a slightly different position which has left me with a tapered return that is frustrating. I think I will be remaking this panel tomorrow.


I needed to add an extra slot in the floor section to get it to fit around the chassis X braces however, I wasn't sure about this so I dug out my copy of the Austin Healey 100 restoration guide by Gary Anderson to check. While doing that I found a photo that clearly showed the vertical panel in the middle of the aperture, in fact it looks rather similar to the picture above. It made me think because this book is rather rare now and is advertised for up to £300 and so it had crossed my mind to sell my copy and add the money to the car fund. But having used it today I think I should keep it for a while yet. I also noticed that the middle screw used to mount the grille sits exactly where the vertical front edge of my new panel sits so I may modify the second version to give me some space for that. Finally when I look at these photos I realise that whilst the floor panel looks great in bare metal the vertical one doesn't look so hot where it has been hammered during productions so I think they will be painted after all.
No comments:
Post a Comment