Tuesday 28 July 2020

I have checked and the windscreen and rubber is £155 from Moss so I may do that sooner rather than later.

Spent the day looking at the engine.  I don't know much about setting up timing and fuelling so I spent a lot of time reviewing the videos available on the internet and eventually had enough of an idea to give it a go.  The most helpful was the series by James (of Resto Nation fame) which I studied extensively.  

I started by looking at the timing and then moving to the carbs.  In all the years I have owned MGs and the like I have never tinkered with SU carbs and it was really interesting to see the effect small changes made.  Following the step by step guide James provided I got the engine running really well, I am delighted.

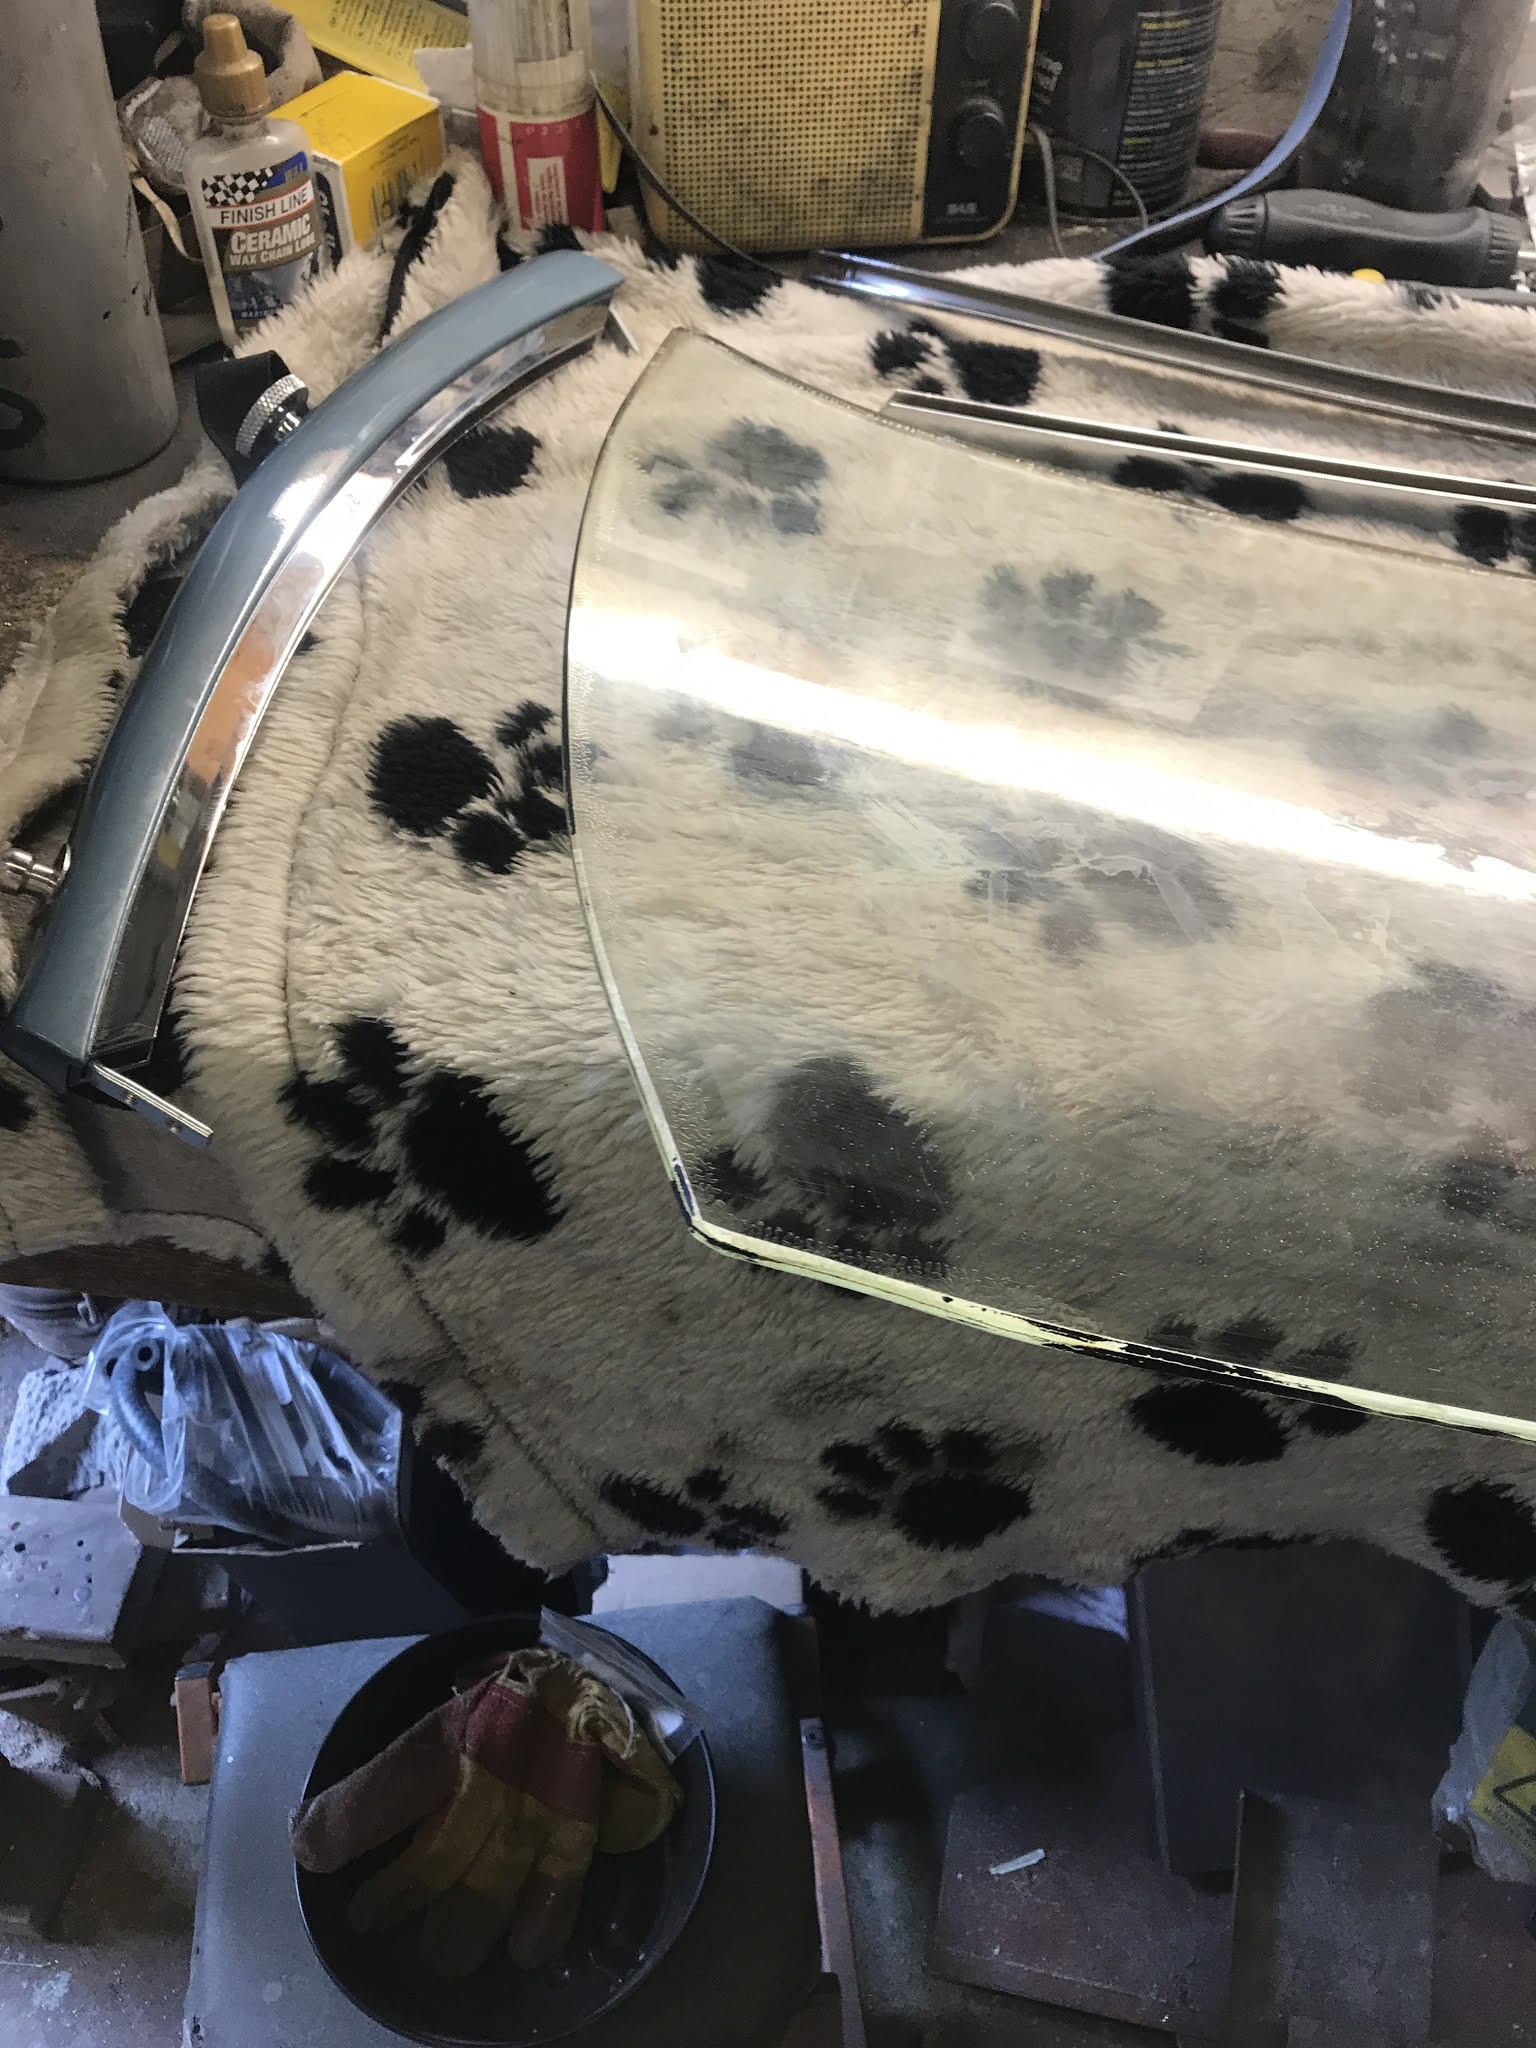
I am also delighted to discover that the overdrive works.  With the prop shaft removed I had the car running in 3rd and manually pushed the lever and got it to engage.  That is fantastic news as it means that now I just need to sort the electrics out and I can do that at my leisure.  I refitted the prop shaft the correct way round this time and started to size up the tunnel cover before running out of steam.

I did have a couple of challenges along the way, one of the float chambers decided to pump petrol out of the overflow for some reason but a quick strip down and blow out sorted it.  Also, after the first hot run I was walking down the garden path to get a fresh coffee when I heard a massive bang and turned round to see steam coming out of the garage door.  The floor was saturated and the car covered in water.  At first I thought it was a core plug but it turns out that the radiator hose had popped off the water pump.  Soon fixed but the mess produced lives on.

Getting much closer to a drive now, very excited.  The Ace Cafe has a classic car night two weeks today and I would very much like to be there, fingers crossed.


Monday 27 July 2020

Friday, Sunday and Monday to fit a cracked screen, oh my.


The above photo was taken in May and it clearly shows the windscreen frame attached to the pillars and installed on the car.  Since then I had ordered a set of corner joints, 2 sets of screws and painted the pillars car colour.  So far so good.  I then fit the corner joints and of course they don't fit.  I can't use the old ones because they are rotten and liable to brake if you so much as look at them.  I am lucky that in amongst a pile of screws that I have I am able to ascertain that the thread is UNF 6-40 and that I can buy some taps for very little money to enable me to make some new brackets.  I am unlucky because of all the metal scraps I have kicking around the only thing that is the correct thickness is a piece of angle iron which needs cutting into strips before I can begin.


I make loads of these damn things and it takes hours.  Eventually I make progress.


I put it together and trial fit it on the car and all is good so I start to fit the screen.  This is a nightmare, I just can't get the U channel with the rubber onto the grass. 


Eventually I give up and go and look on the internet for guidance from those learned people who have done it before.  I discover that it is a hard job and this makes me feel better.  I also discover that there are different thicknesses of rubber and glass, for crying out loud even the fact that I have had the channels re-chromed is a factor.  So I decide that I will bodge it and just put the rubber on one side of the glass and if necessary use some silicon sealant.  I am not worried about this as I am using a second hand screen which has a crack so I don't mind if the glass breaks in a few weeks time as it needs replacing already.  I go back and just throw it together with the rubber on one side but of course what happens is that the rubber seats itself correctly, would you believe it.


So I feel a little chuffed that it has all come together after being so cheesed off with it but this nice feeling only lasts as long as it takes me to fit the screen on the car.  It doesn't fit in despite the fact that it fitted perfectly last time I tried.  During the process of ramming the damn thing into the pillar brackets the glass cracked again, and again.  Oh well.


In many ways I am not bothered at all because I knew this was going to happen which is why I was fitting a cracked screen in the first place.  Well that and the fact that I am out of cash and I want to get the car on the road so I am happy to forget about the cost of a screen at this stage.  However, what does bother me is that now I have tried the screen it is really clear that the bottom pins on the pillars are too far apart and this can only be solved by filing down the newly chromed channels and making yet more corner pieces.  In other words this item needs a lot more time and attention given to it and I don't want to do that now.  It feels like a task for the half term holiday.  

I'll end on a good note.  I arranged for the insurance to be upgraded from the current status of 'laid up' to full road use.  Surprisingly the cost was really rather good value at £58.  I had got the quote via email last week so called to see what the cost would be to have my wife added only to discover that I had already added her to it.  Having bought it I received the details in an email and discovered that the policy also included RAC breakdown cover and I was expecting to pay £50 for that alone, total bonus.  Well done Hagarty Insurance. 

Thursday 23 July 2020

I spent the best part of a day cutting the holes in the floor for the seat.  Essentially I was nervous about it as I didn't want to get it wrong.  The inner holes are painfully close to the chassis rail which will make fitting them interesting.  The passenger side required removal of the exhaust and larger holes to be cut into the heat shield.  All done now so I can fit the seats in and then move on.


Tuesday 21 July 2020

Today I finished the seats, felt lovely to have them done.  Whilst they are not the same as a professional would do it was a hard job and one that I feel proud of my efforts.


Next up is fitting them which will require drilling the floor, something that is a little scary.  I am happy to drill holes in the floor but I don't want to drill them in the wrong place.

I sorted out the various bits of wooden packers first.  It was not easy as the setup is a little baffling.

I trial fitted the seat.  It was striking how little room is available for the driver.  I believe this is to compensate for not having power steering so one's arms need to be close to the body to get the required leverage to turn the car.  It's crazy by modern standards.


I had asked for help on the positioning front as my records from the old chassis that I cut up a few months back were haphazard to say the least.  A friendly chap on the AH Experience website sent through some details which were very helpful.  I think I have the position right but lost my bottle and decided to make the holes tomorrow.


These are the details I have from the original chassis, I'm a donut.


I'm on school holidays now which means that I have 6 weeks off work, bloody lovely.  The Coronavirus means that my usual month long house swap has been cancelled and so we are staying at home in London this year for the first time in 15 years.  The Healey will benefit.  Two of our neighbours have both decided to do large scale building works on their house this year and as the Coronavirus also meant that I have spent some time working from home the noise they have produced has annoyed me endlessly.  So I am a little noise averse and the neighbour over the back has a habit of using a petrol blower in his garden and it is now really annoying as well.  The next photo was taken of me because he decided to blow around our garage today for some reason whilst I was stapling the seat back; it was as much as I could do not to fire the gun at him.

This is my mad as hell look.


Work continued on the seat back.


I decided to stick the side flaps to the seat back in the first instance before sewing it.


I had bought this lovely leather sewing kit in preparation of doing it.


I didn't get very far before snapping the needle.  I decided to leave the thing as glued only and see if it comes apart, if not no worries and if it does then I deal with it then.


I decided to switch jobs and look at the windscreen again.  The pillars now worked with the parts that were replaced which was lovely.


However, in the usual fashion the screen surround wouldn't fit with pillars without distorting substantially.  On investigating I think that the corner brackets supplied are not quite the correct shape.  Naturally I am not surprised.  I have collected a lot of different screws and bolts over the build and discovered that something called UNF 6-40 fitted perfectly.  This was helpful as it allowed me to order a new tap on eBay and will in turn allow me to make some new brackets.


I had one seat back to do along with the sewing and the trim cross the back of both seats so I set about it.  Doing the second one was way easier than the first and so more enjoyable and quicker.


Saturday 18 July 2020


I did some heavy duty cleaning having stripped the wiper down again.  


This all went well and the motor now operates nicely.


Having painted the air filters I decided to put them back together and was somewhat troubled by the lack of space between the front one and the bodywork.  Nothing is easy.  I decided to cut back the filter by about a cm to solve the issue.


It will be interesting to see how many people notice this modification.


I then fitted the bonnet catch bracket and a few pieces of trim.