Sunday 21 April 2019

Easter Sunday spent in the garage easting chocolate and painting the inside of the shrouds.  It went well.  The hardest part of the job was masking the outsides of the shrouds which took a couple of hours.  I noticed that the papers I used for masking were dated 31st May 2017 which is when I painted the inner bodywork, another great day.

I was worried about the paint and the primer was pretty solid but ok.  The main issue was the primer spray gun which I hadn't cleaned out properly and only just worked.  I painted the primer and then went straight over it with the base coat.  I didn't have enough of the blue base coat which is a frustration and some areas are a little thin on colour but they won't be seen so I am ok with it.  I will need some more base coat for the inner side of the wings, doors and the odds and sods such as the tunnel cover.  Once I have fitted the shrouds I will need to paint those so I'll order some next week.


 Once done I spent a while cleaning the guns out and then set the shrouds in the sun to harden.


Next on the list of things to do it get the wings back from the loft and then paint them and the doors before fitting.  My next challenge is the door gaps, ha ha, I can't begin to think of that.  Then it is filler and priming.  I am pencilling in the last week of August for painting as I am away for the whole of the summer.  That leaves me with a few weekends and the half term holiday to get the filler work done, I should be able to do that.  I will need to sort the seats out, adjust the brakes, fit the lights and sort the timing / engine running before I can drive it to Barnet for the topcoat.  Should be possible.  That would be fantastic as I could then get it finished for the spring next year.  So close that I can taste it.


Saturday 20 April 2019

Spent the day rubbing down the shrouds before giving the insides a coat of stone chip paint.  I hadn't planned to stone chip these but after sanding them down they had a lot of marks from the work done to them and general wear and tear.  It is a glorious day in London so I am able to leave the car outside the garage whilst I work on them which is very fortunate.


I made the most of the sun to bake the paint.


Tomorrow I am going prime and then paint the panels before fitting them to the car on Monday.  An excellent use of an Easter weekend.  I had forgotten how hard the bodywork is, I am shattered from grinding, rubbing and fiddling with the shrouds.  

Once they are done I will get the wings out of my mother in laws loft and paint the inside of them and the doors before the filling begins, very exciting.  


Friday 19 April 2019

A lovely day today, Good Friday and all.

I finished fitting the ancillaries to the engine: exhaust manifold, carburettors, plugs, water hoses, choke, throttle linkages etc. and then ran it.  A post on AHExp suggested using silicon on the top of the cork rocker cover gasket whilst degreasing the surface on the head that it sits on so I did this as well.


It got hot and it didn't leak, anywhere.  Thank goodness.

I am now conscious that I can get on with the bodywork as the engine and mechanics are pretty much OK.  Lots of things need fettling but it is all in a reasonable place.  I looked up at the roof of the garage to see the shrouds and realised that they have been there almost two whole years, flippineck.


I took the Healey out of the garage, great weather in London which enabled that, and got them down from the rafters before giving them a clean.  I then dusted off the trolley and set up the front shroud for some work. 


In an ideal world I'd like to get the insides of the shrouds primed and painted before the end of Monday so that I can mount them on the car.  I started by grinding the welds off the shroud before sanding down the inside.  I was conscious that I have forgotten how hard and dirty this type of work is.

I am also a little worried about the paint as it has been sitting around in tins for over two years, I really hope it is all still useable, fingers crossed.


Thursday 18 April 2019

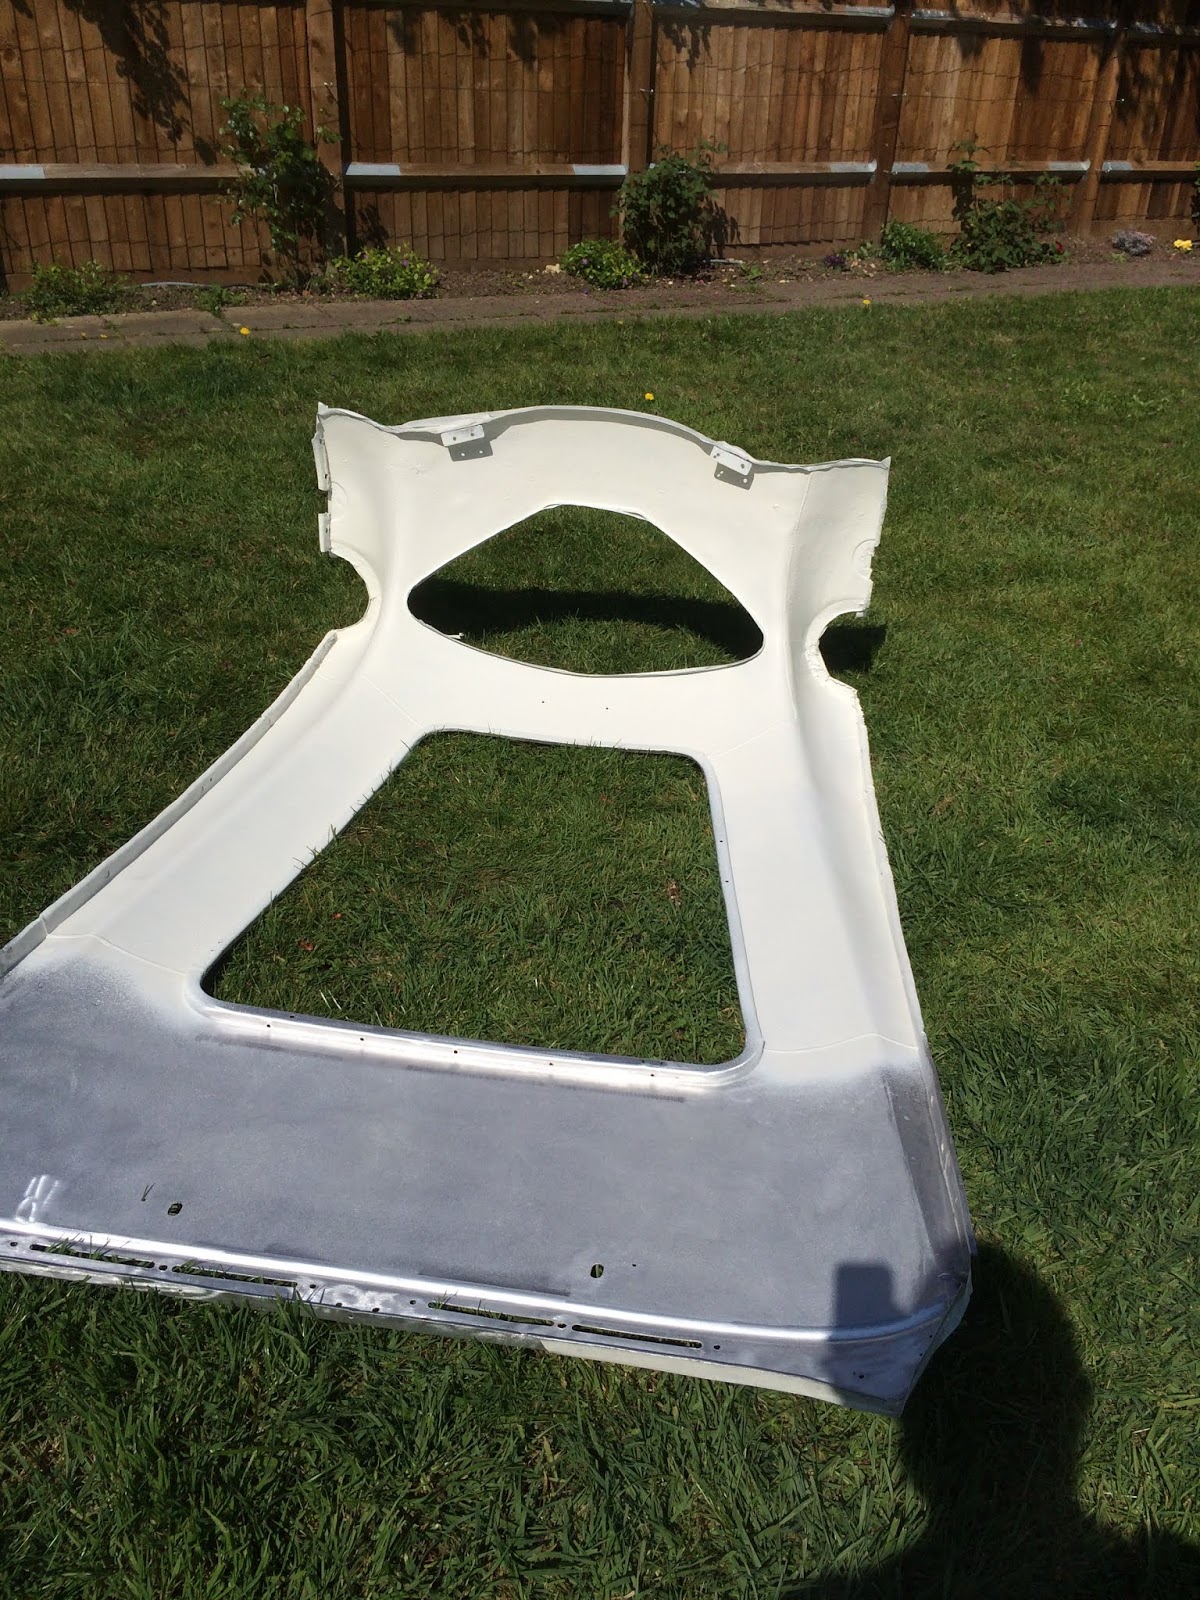
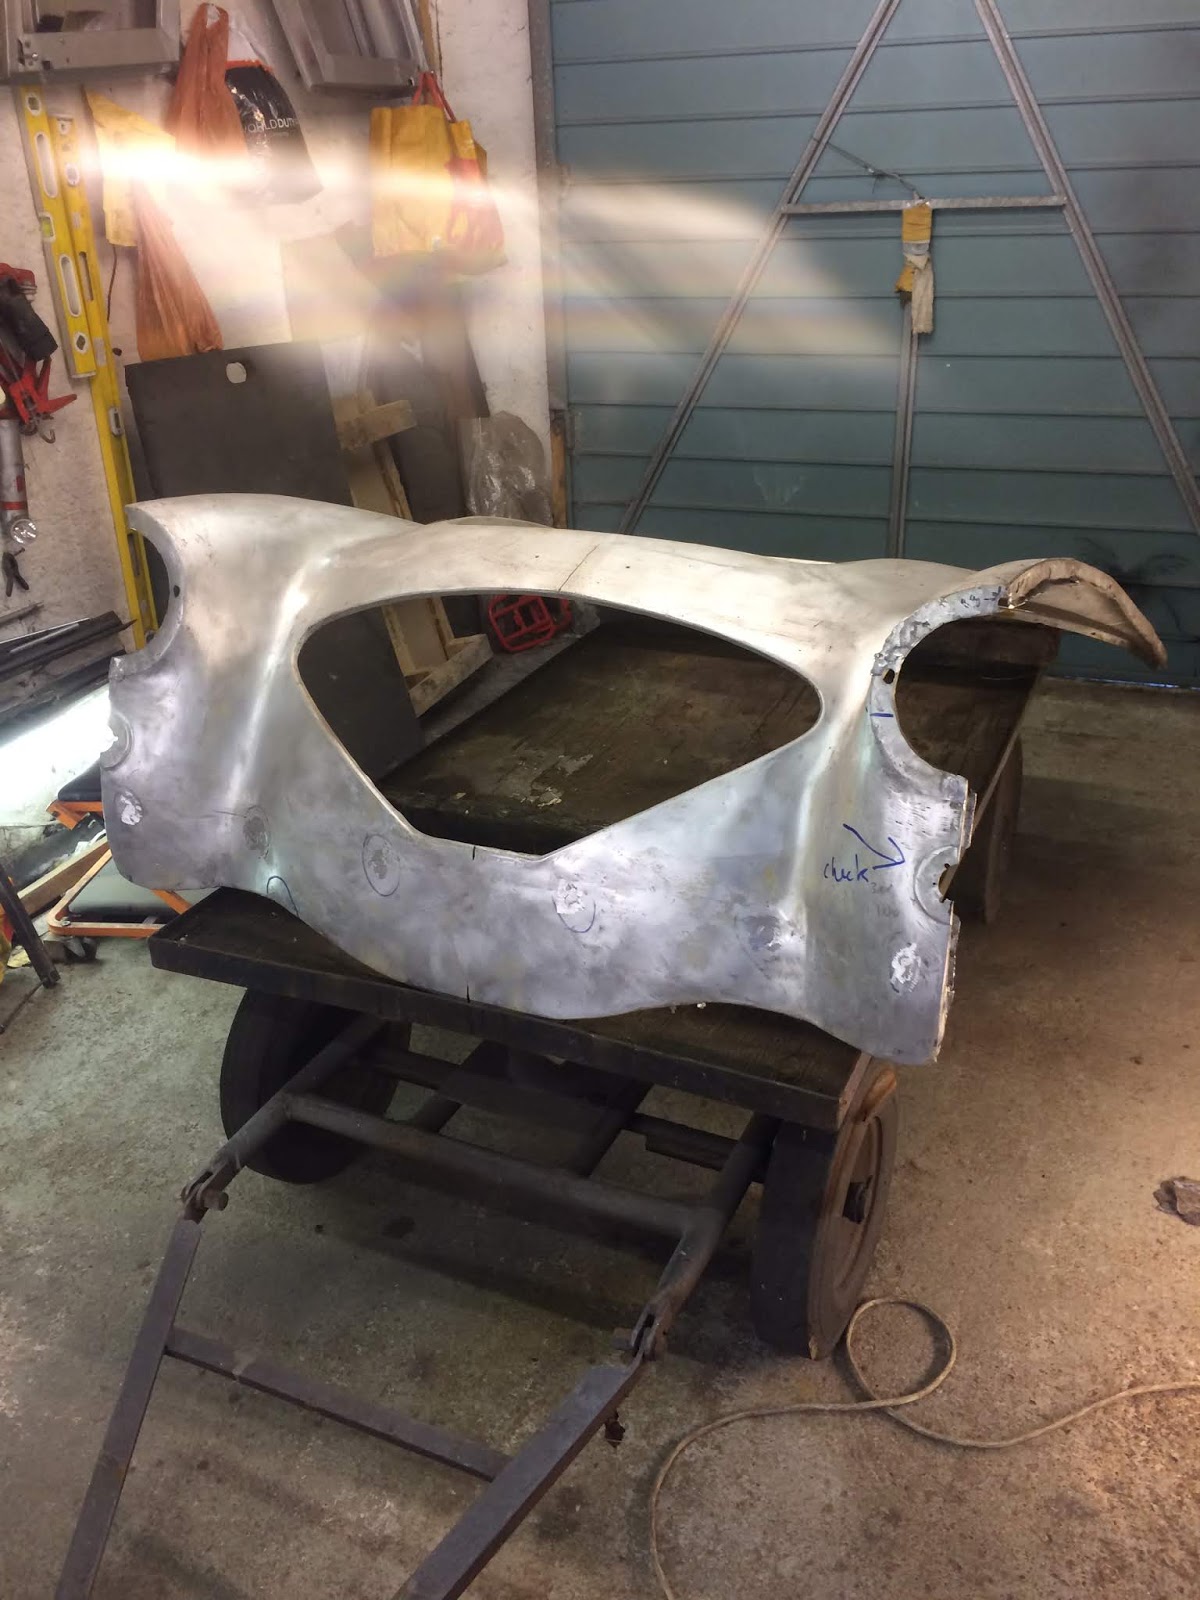
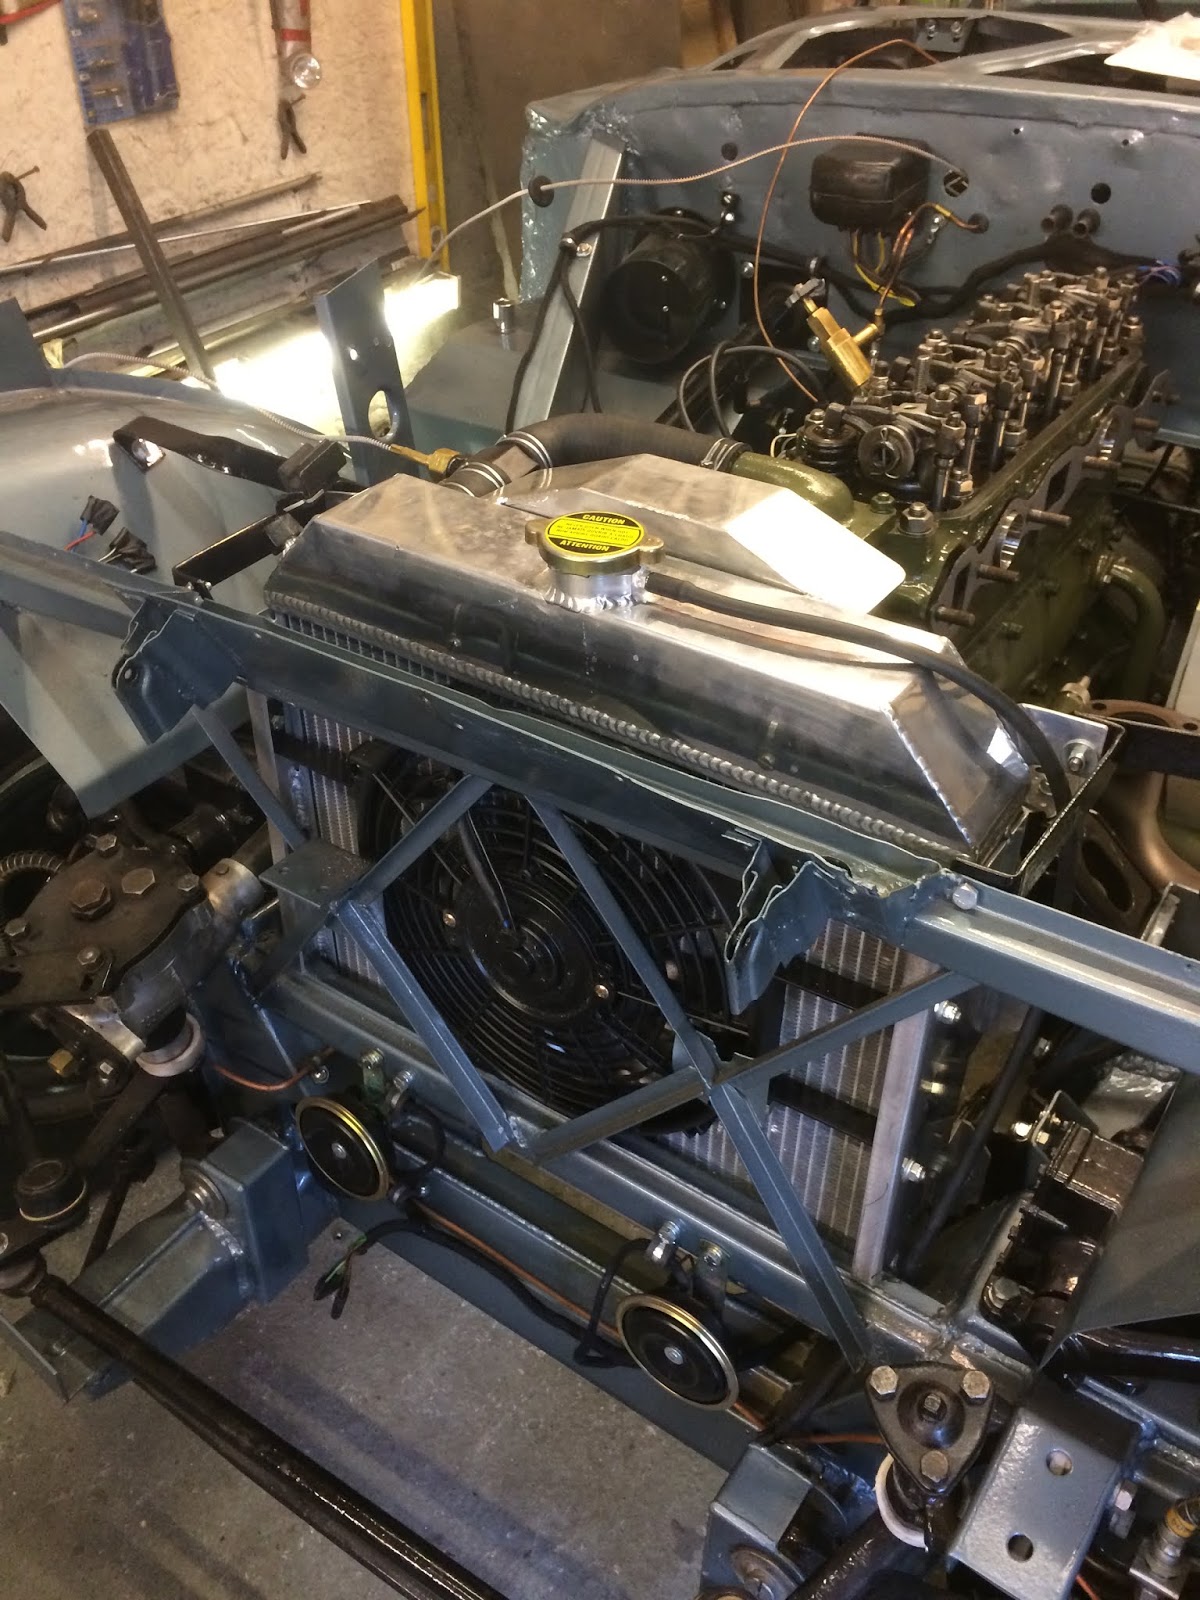
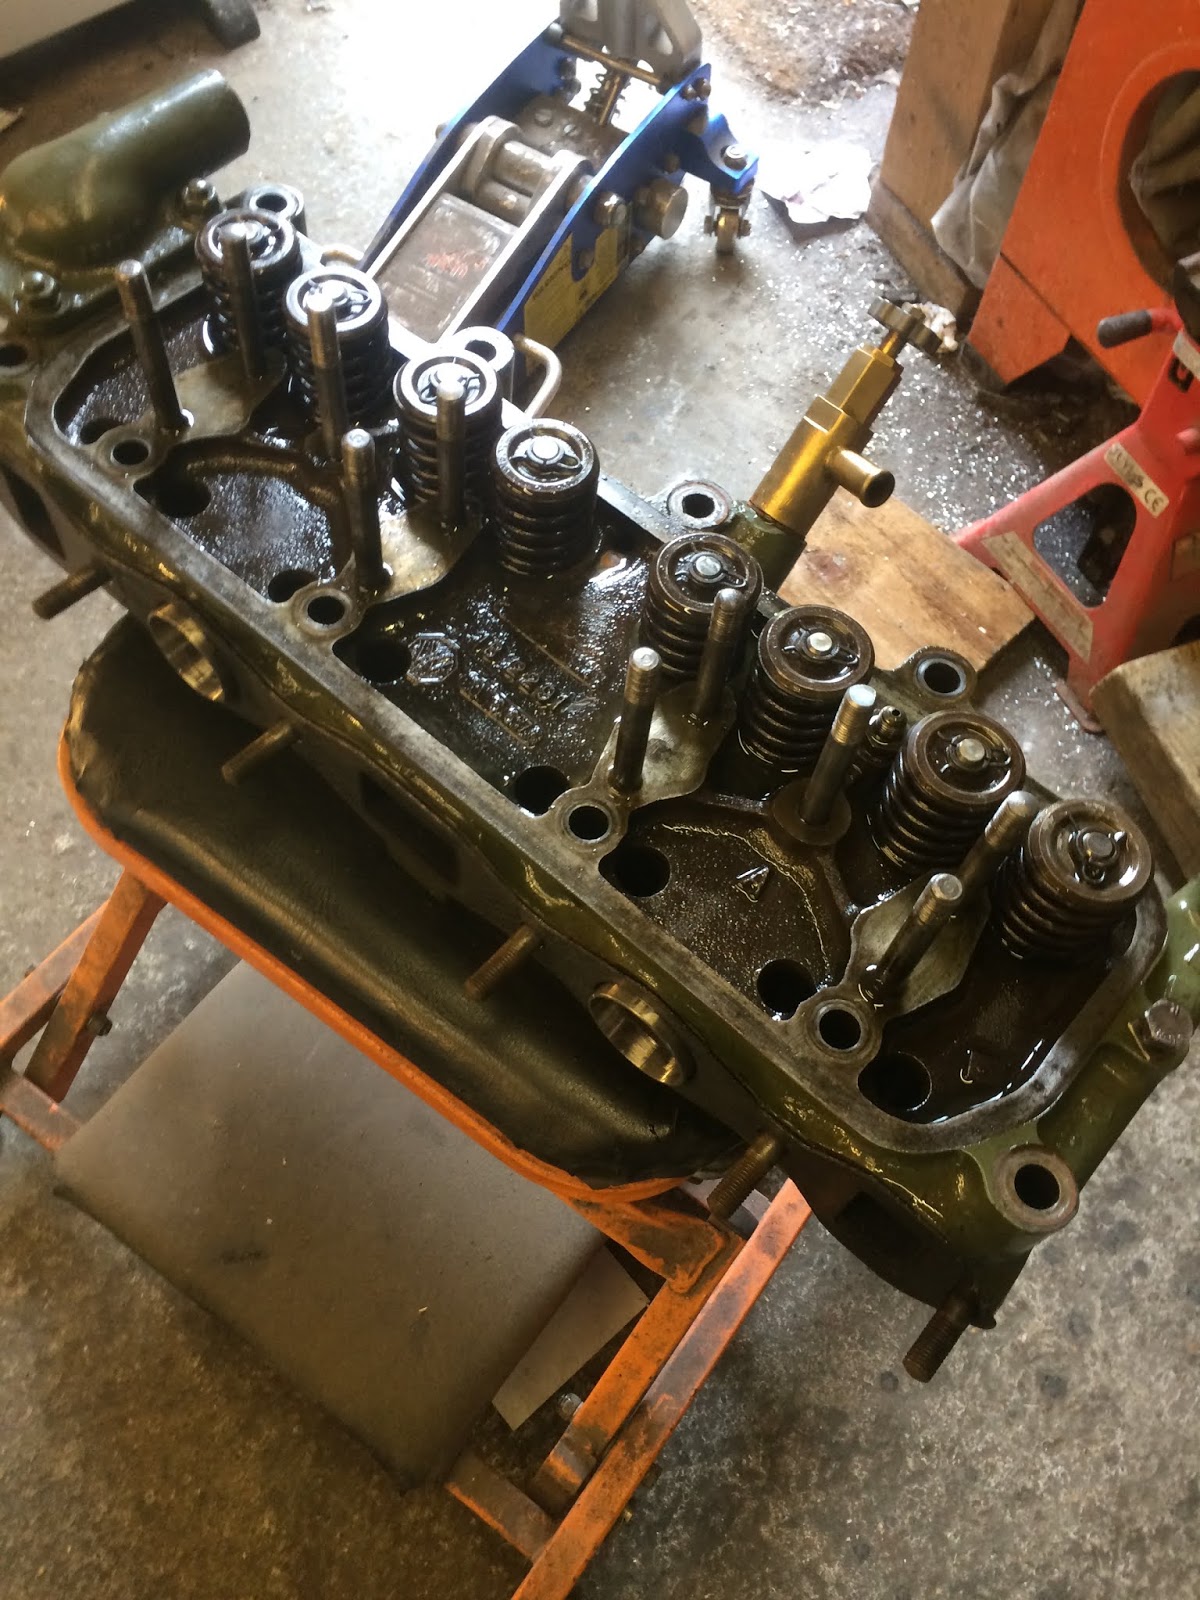
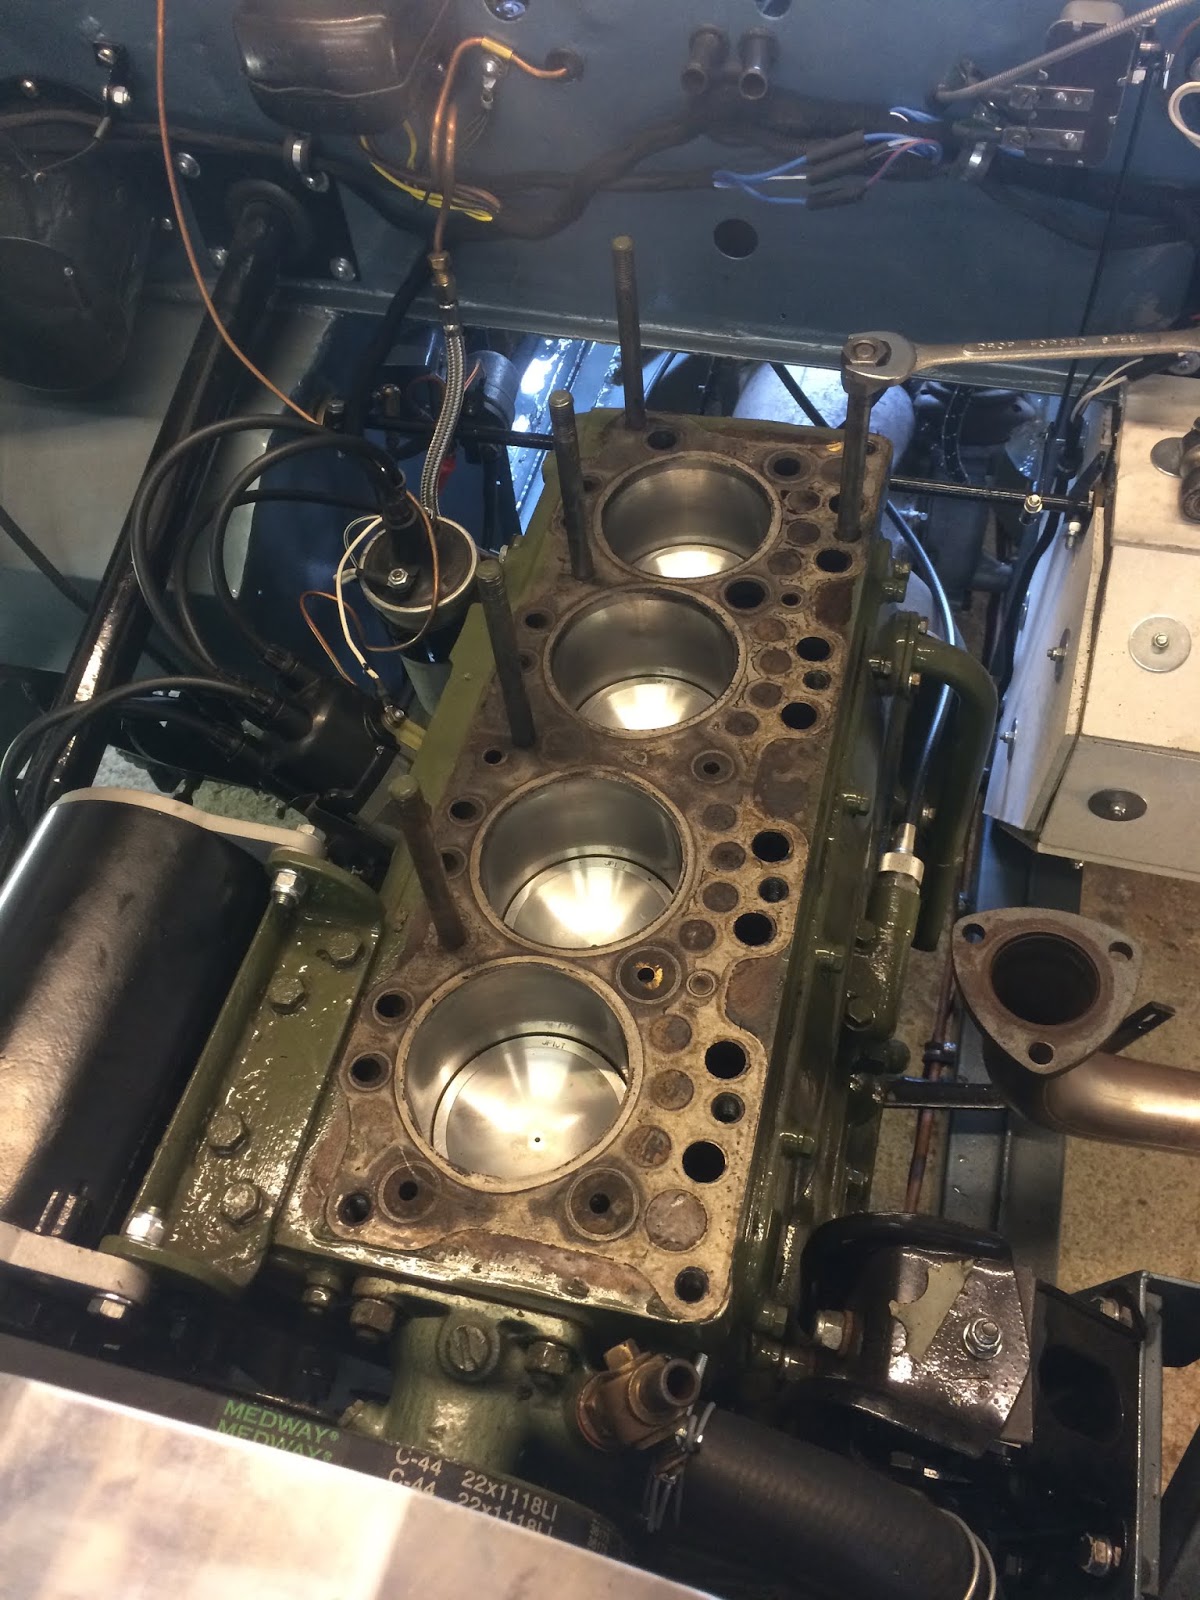
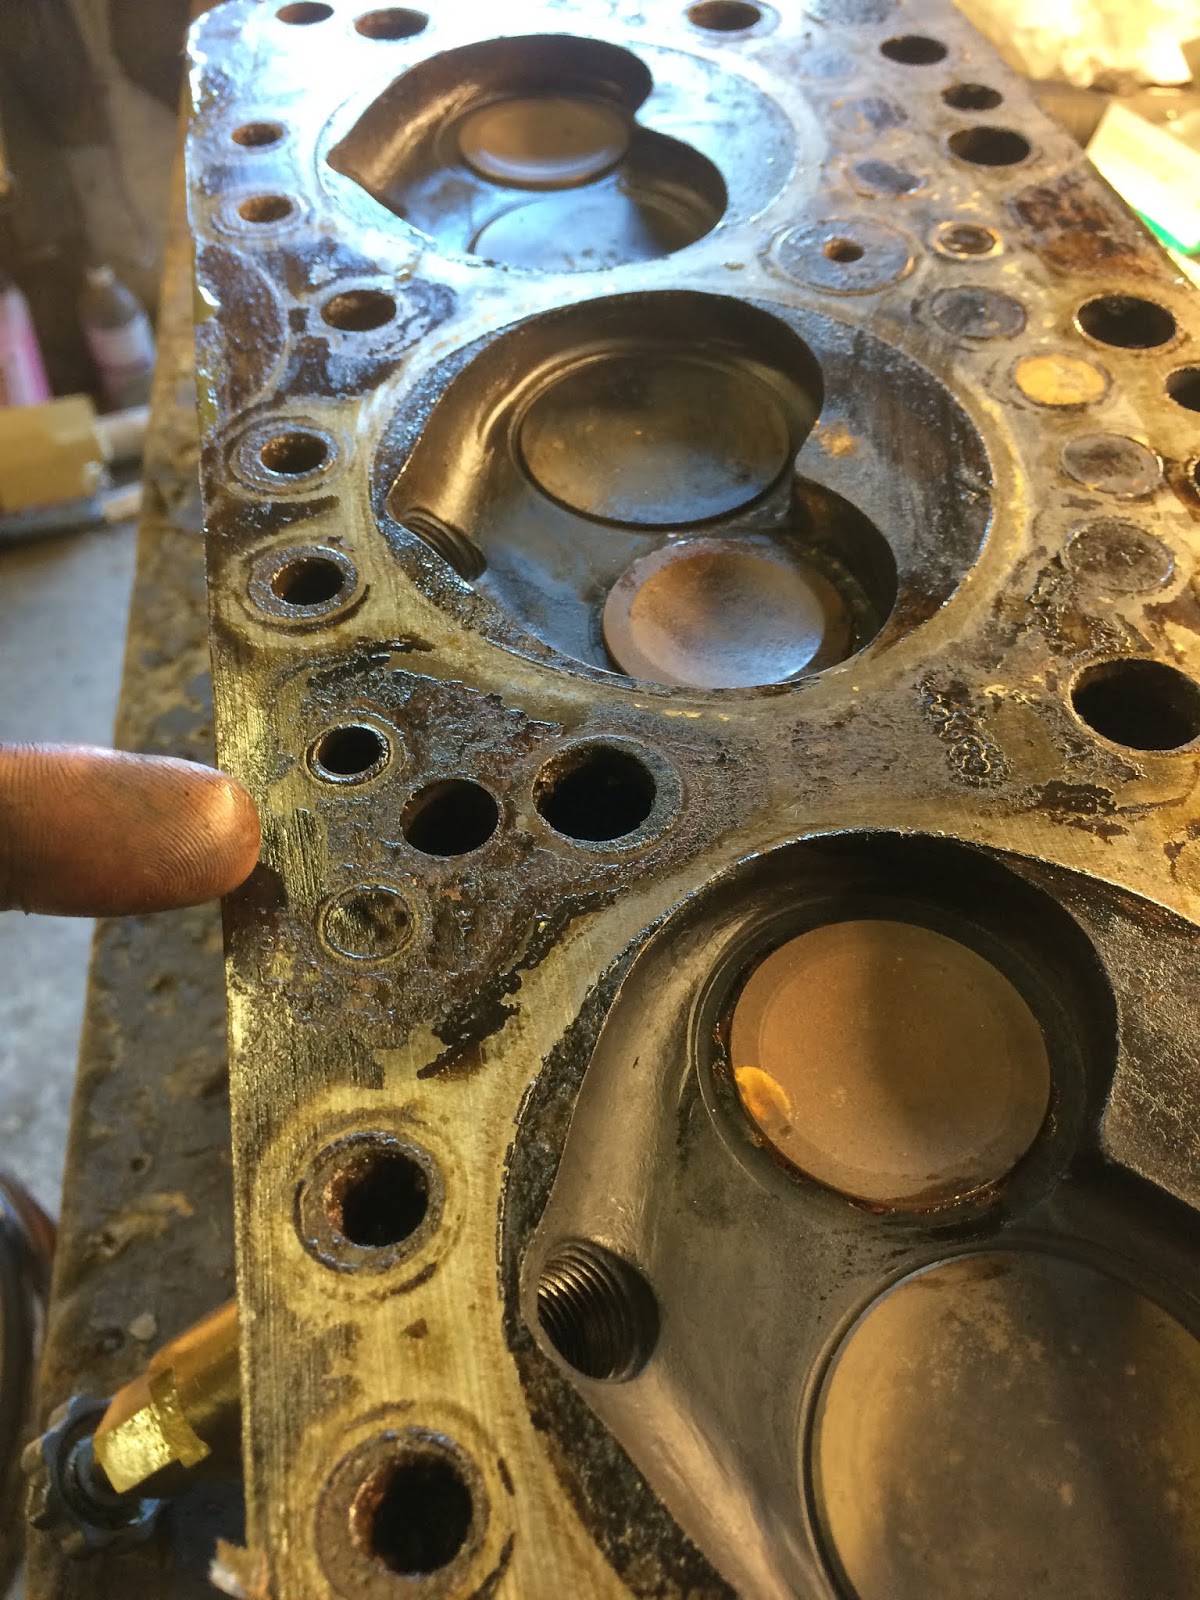
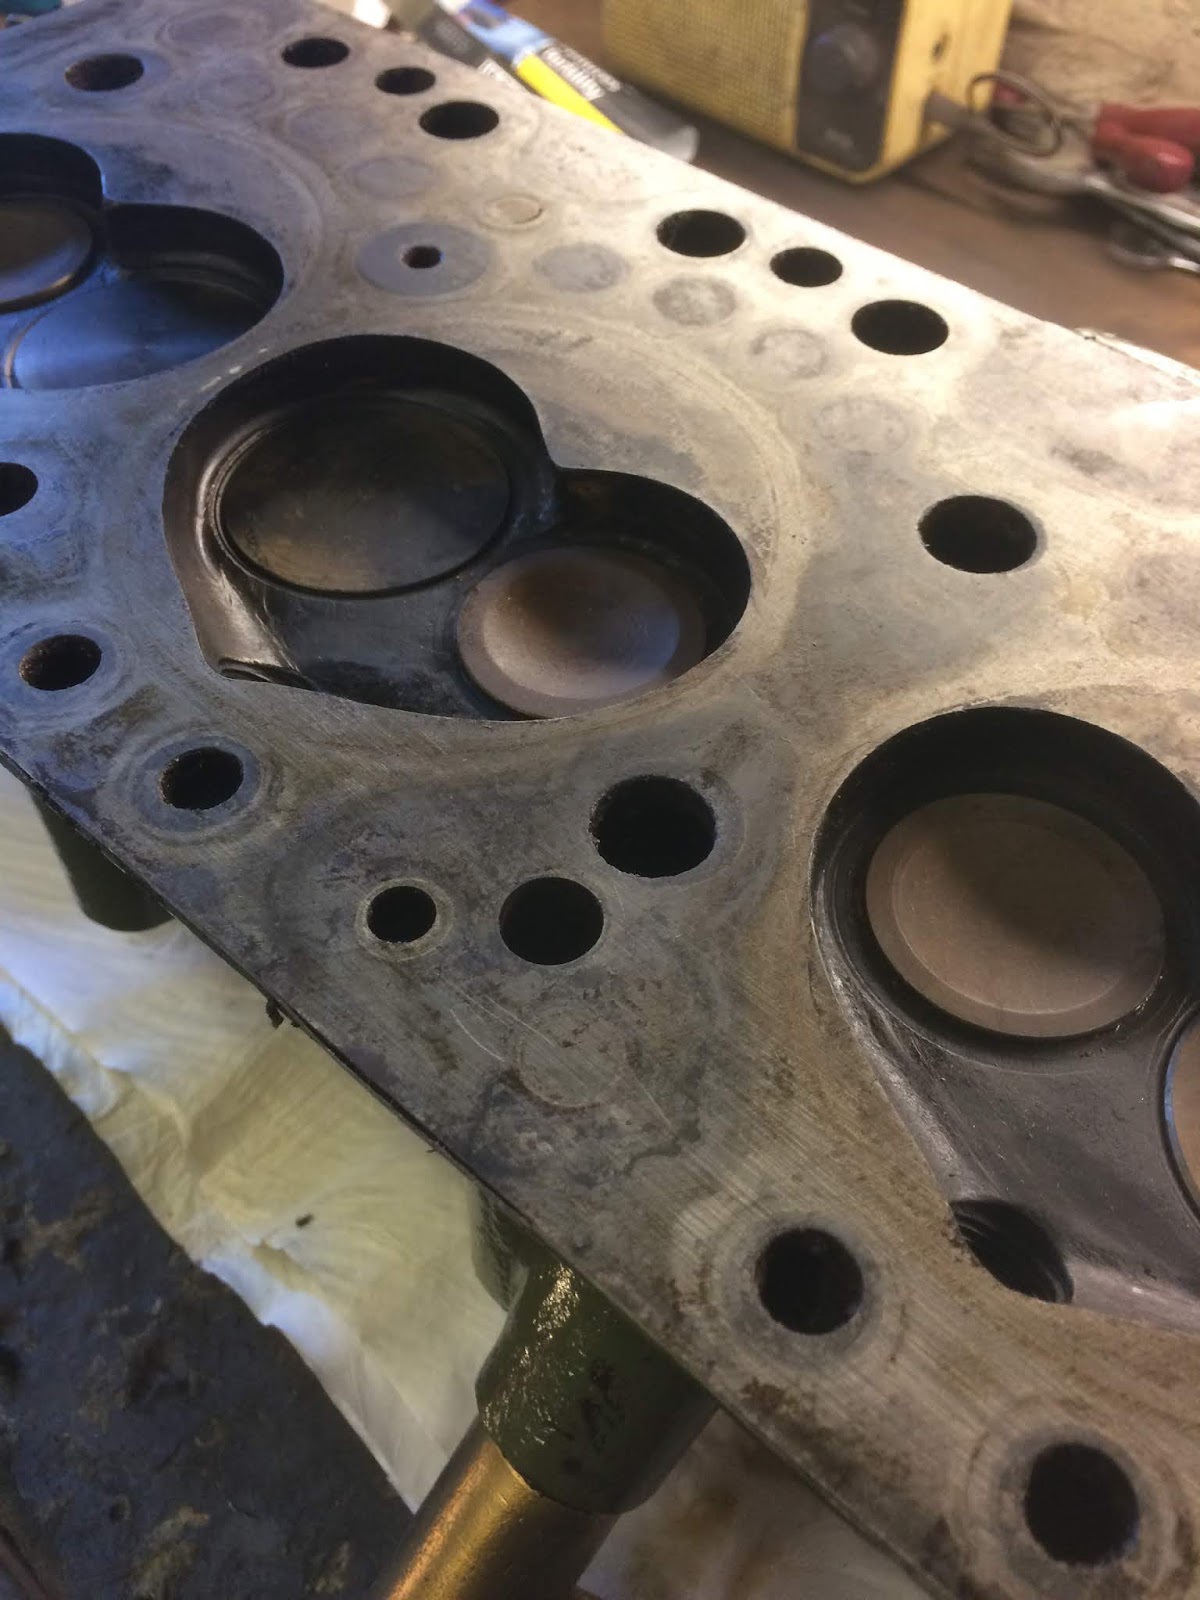
I collected the pushrod and installed it and the rocker cover before getting distracted.  I got distracted by @resto_nation who is building a 100 whilst posting videos on YouTube of the progress.  He did an episode on fitting an electric fan this week and it got me thinking about my car.  I am a little troubled by how quickly the engine heats up when I run it and I am becoming more conscious of the impending restrictions to the engine bay that will happen when I fit the shroud and wings.  The later is why I decided to do the head gasket rather than try and repair the stud for example.  So with easy access at the moment and the knowledge that I will almost certainly need to have fan I decided to get on with it.

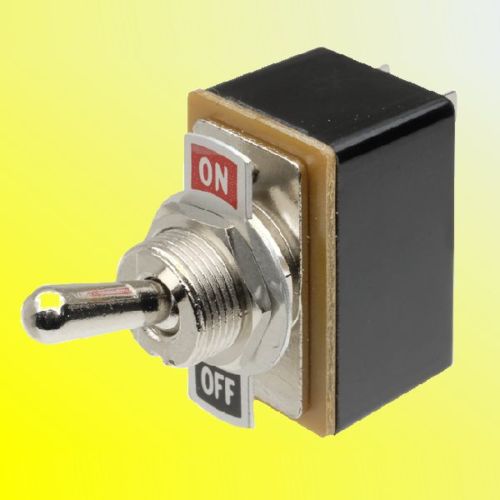
I ordered a 12" fan from eBay for £18.18 delivered and a few toggle switches.


Having already installed the wiring for the fan one of the things I knew was that I wasn't going to install a temperature controller and that it was going to be switch operated.  The reason behind this was that I didn't want to insert a sensor into cooling system which is funny now that I look back on it as I had to anyway because of the funny thread on the radiator, oh well.  I guess I'll see how the switch operation works in practice as I can install a controller at a later date if needed.

I wanted to use the type of toggle switches which are used for the overdrive as they look beautiful and I found these on eBay for £5.68 for 5.  It is possible that they will look cheap and nasty when they arrive but I like the enabled on/off plate and figure it is worth a go.


I bought more than one so that if I decide to add additional components at a later date I can add similar switches to the car to keep the looks clean.  I haven't worked out where to fit it yet.  I want it to be easy to access whilst driving but out of sight, something to ponder.


I copied @resto_nation's method of mounting the fan which made life very easy.  It was a lovely way to spend time in the garage.

Once I started to install the complete rad/fan unit I also tried to get it sat a little lower in the car as @resto_nation put quite a bit of effort into that and I realised that the rad was quite high.  It took 4 attempts but I did get it about a cm lower with some minor modifications to the aluminium rad casing.


I fitted the new temperature gauge for the first time which felt nice to do.  The tube is about 5 feet too long so I will have to work out what I am going to do with the slack.  Naturally I am glad that it is too long rather than too short!


I am wondering if I should have painted the rad black.  Had I of done so then the fan would be difficult to see.  I will not be taking it out again with any luck so I guess that moment has passed.

Monday 15 April 2019


Having thought on the weeping stud issue I decided to remove the head and all studs before applying a Loctite thread lock and sealant.  First though somebody posted on the AHExp site that my leaking oil challenge might be due to the studs that hold the rocker cover down being a tad too long.  They suggested fitting the cover without a gasket and seeing if it could be bolted up tight without it.  It couldn't so I removed the studs, ran a tap down the threads to extend them and then shortened the studs by a few mm and it seemed to do the job,


I then removed the head which was a mighty big challenge as it is very heavy.


The head studs had a groove cut in them that was of interest, apparently they help prevent them coming undone.


Nice shiny new pistons


The head didn't seem to show any odd signs at first but the block did have this mark leading from the offending stud hole to the outside of the engine.  The gasket appeared to have a crease at this point as well.  I can't imagine how this could have caused the problem though.


With the head cleaned up I could see no faults and it was flat.


Some signs of being machined but not in its recent past.


On refitting the head I came across this fault with one of the pushrods, the end floats up and down.  I'm collecting a replacement tomorrow.